I’m happy to tell you that I’ve finished making my hat. It turned out quite well, even though I made the pattern myself.

 Unfortunately, the hat is way too small for my head. I realized before I added the lining that it’s way too small. It’s definitely kid sized. I totally underestimated how big my head is. 😀
My husband suggested that I should have stopped this one and tossed it and started a different bigger one.
I told him that, I would have, but I’d have to make a bigger pattern and also, I was determined to finish this one, since I promised I’d post about it here on my blog, regardless of how it turned out.
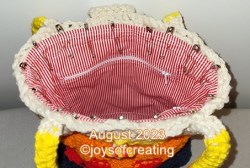
 Other than being way too small, my only other issue with it, is the inside lining isn’t as neat as I’d like it to be.
 I may or may not make another hat. I’d like too. I enjoyed making this one very much. However, if I do, I might go ahead and order a pattern instead of making a pattern, or not, I never know about me, until the inspiration hits. 😊
Wishing you all a weekend of sunshine and smiles.
🌞😎
 I thought I’d give a try at making a hat by making my own pattern. I could have ordered a pattern, but that would be too convenient. 😊
 I got sidetracked for the last couple weeks with my new crochet blanket. The yarn is quite a lovely and soft texture, however, trying to find the middle-pull end was most frustrating. I finally, started with the outside end of the skein and wound it in a ball. It took me a few hours over the course of a day, between housework, to wind the over 1000+ yards.
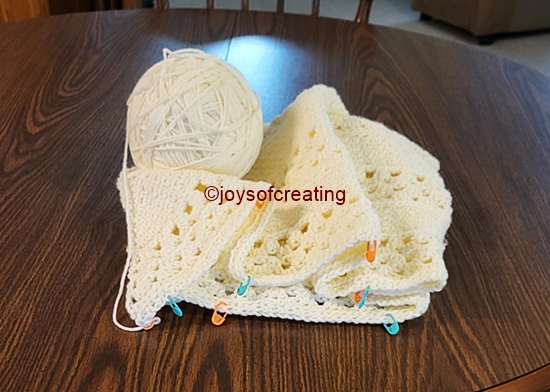 Since I wound the yarn into a ball, I’m having an enjoyable time making the blanket. I still have over 200 rows to go. Thankfully, it’s a C2C stitch pattern and the last half of the blanket pattern rows will get shorter and faster to finish with every row. (Did that make sense. 😀 )
 Yesterday morning, as I picked up my crochet blanket to work on, it occurred to me, that perhaps, I should put it down for the day and try and finish my Burgundy & Gray Tote Bag.
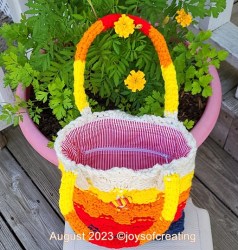


 This ‘Checkered Tote Bag’ was one the unfinished projects that was in my ‘
 I originally started this tote-bag way back in 2019 when I first got my ‘KB All-In-One’ loom. I mentioned it in a post, 3-8-2019 ‘


 It has a zipper-pocket on each side inside.
 I’m ever so much happier with my old Bright Tote Bag now.