
 I decided to use up some of my embroidery stash by finding patterns and kitting them out myself. I rather enjoy doing it this way.
Some years back, I inherited several skeins of floss. As I was sorting the floss, I thought there might be some I could use. I noticed something so nostalgic that it made my heart smile. The prices on the floss were 3/10¢, 5¢, 12¢. Ahhh, the good-old-days. 🧵🪡
I looked through my patterns in hopes of finding one I had all the floss required. I found two that I couldn’t choose between, so I kitted them both out.
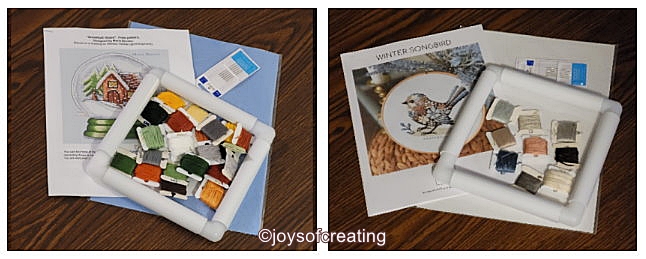 Two kitted out
Ready to stitch
Waiting for whenever
The stitching mood hits.
🧵🪡
 I immediately liked “Snowball Glass by Maria Brovko” cross stitch pattern when I saw it way back in 2020. The big bonus was it was free.
 I think “Flower Winter Bird Cross Stich by nathnolu ” is so charming. It was easy to find the pattern for sale.
Now when the mood hits to cross stitch, I’m ready for it. I wonder how long it’ll take me. Years perhaps or sooner. I never know about me.😁
Wishing you all good moods and happy crafting.
 I’m making a bit more progress on my
  Now for the Secret of the Butterflies. The butterflies in the bouquet behind the needlepoint are really pretty in real life. As I was watering the bouquet the other day, I discovered that the butterflies are made of painted feathers. The body seems to be made with some kind of clay. They’re so cool!
 I was thinking about doing a new cross stitch project. I have plenty of floss and fabric, so no need to buy a kit.
 I’m happy with my diamond painting.
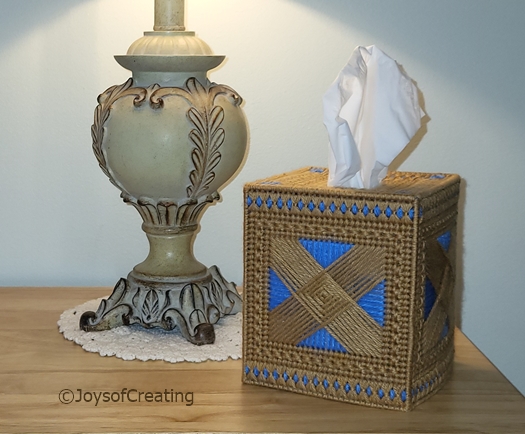 I finished my plastic canvas tissue box cover.
 I got a bit more done on my ‘Classic Impressions Needlepoint’.
