misc thoughts & hints for yarnies & loomers

t6027t6028

This blog post is a few miscellaneous thoughts and hints for yarnies like me. I hope one of them  may help make your yarn crafting adventures more enjoyable.

The Knifty Knitter cord loom is a fun little gadget. It makes a nice cord with 5 pegs, but if you want a smaller cord you can use 3 pegs.
IMG_6994

Jute or grass twine makes a lovely cord for trivets or even little baskets.
IMG_7007

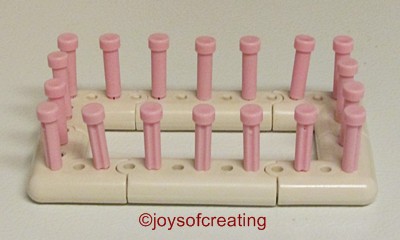
I find that alot of times my Martha Stewart loom pegs don’t want to stay put. It’s a major irritation.
I first tried yarn stuffed in the holes, then tried bits of paper, then masking tape, they worked but I wasn’t happy with them. Then I tried painter’s tape and I haven’t looked back.
I use a layer(or 2) of painter’s tape over the loom holes.
I use a toothpick to break the tape over the hole and then push the peg in.
This method works really well for me.
loomtape

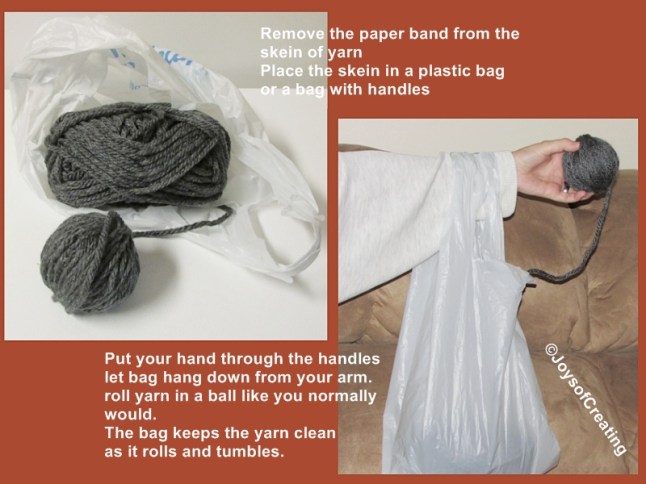
I had My first experience at rolling a ball of yarn that wasn’t end fed like the 4 ply skeins I usually use.
t0473I got frustrated at first with the skein tumbling and capturing everything including the attention of (our dog) Sheli. He and I got into a bit of a kerfuffle for a few seconds.
I stuffed the skein into a plastic grocery bag and hung it on my arm. I quickly discovered that not only was it protected from Sheli, but it fed easy and rolled beautifully.
I do love accidental discoveries. 🙂
lbrolling

I bought my first couple skeins ever of bulky yarn. It’s Lion Brand Hometown USA
It’s a bulky yarn and is 81 yards long
I wanted to see how big a square made with 81 yards would be, so I crocheted a solid granny square. I used a size N crochet hook. The square came out to be about 12 inches x 12 inches
I decided to try a regular granny square and was amazed that it too came out to be about 12 inches x 12 inches… I would’ve thought that it would have been bigger. :/
lb81yardsAnyway, this was a pretty good experiment because now if I want to make an blanket of granny squares out of bulky yarn, I can better guess how much yarn I need.
I’m envisioning a big bulky blanket of 12 inch squares. I think it would be fun to try. I may make one sometime.

This is all my thoughts and hints for the moment.
I hope they’ll help make your yarn crafting more enjoyable.

You’re welcome to share your hints if you want too.

Here’s wishing you happy
adventures in crafting!
t6027t6028
🙂
spcr1

February Wreath

IMG_7229My ‘Wreath of the Month‘ for February,
is dressed up in traditional hearts and flowers
in red, pink and white in honor of Valentine’s Day.

Here’s wishing you all a wonderful February
filled with happiness and smiles.

Happy Early Valentine’s Day to you all.

🙂

.

IMG_7474
My February wreath, pictured at the top of this post, is made with Red Heart yarn on a Knifty Knitter cord loom and some flower looms that I don’t know what their brand is.
As extra decor, I crocheted the rose and the hearts.

.
.
Related posts:
January Wreath

~*~
Here’s why I’m making a ‘Wreath of the Month’ for every month of 2014.
~*~
spcr1

New Tube Scarf & new method for finishing the ends

IMG_7178
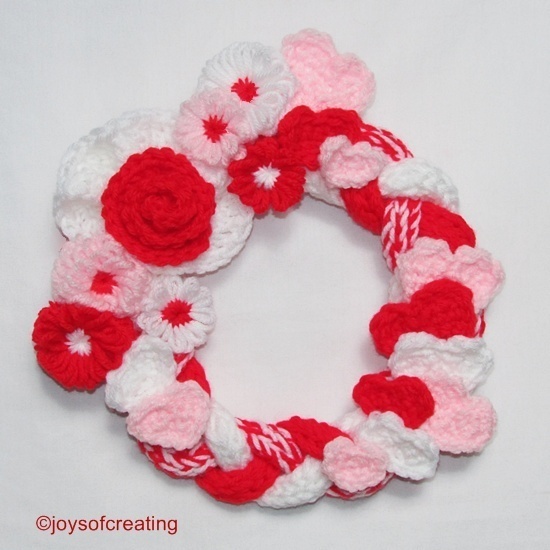
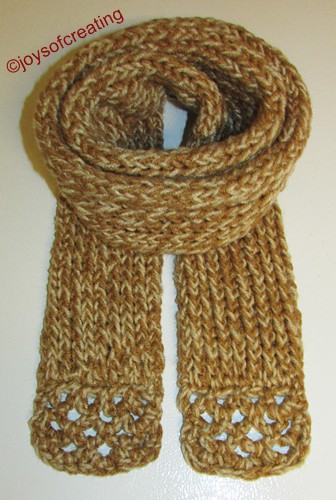
This my new tube scarf that I’ve been working on for the past couple of days. I finished it last night.

It’s called a tube scarf because it’s made like one long tube.0128140807a

My scarf is about 3 inches wide
about 60 inches long
two strands of yarn – warm brown & buff
e stitch
Martha Stewart loom – 18 pink pegs-spacedIMG_7185

I enjoy making tube scarves, but I’m not a fan of the way the ends sometimes look. The ends either roll or have an edging from doing a series of garter stitches to keep the edges from rolling.
I liked the garter stitch edge, but I wanted something a bit different. I couldn’t think of any thing until I surfed across ‘Sheepishly Sharing‘ blog. The blog owner is Margaret. She has a Addi Express knitting machine. It’s an amazing machine that looks like it does loom knitting faster than using hand looms. I dream of someday having one of the wonderful machines.

Margaret has a video posted that she made called ‘Getting Clean, Straight Edges on a Knitted Tube Scarf’. She has figured out a very clever way to keep the ends nice and crisp.

Since my tube scarf is made on a handheld knitting loom, I used her idea as a springboard and did my scarf a little different than the method she created.
*On the start end when the scarf was about 12 inches long. I unraveled the cast-on rows and then crocheted the tube sides together to make it flat.
*When my scarf was the length I wanted I took a darning needle and wove it in and out of the loops on the pegs and carefully removed the loops without pulling the thread anymore than I had too. When the scarf was off the loom, I crocheted the tube sides together to make it flat.
*I finished the scarf ends with few rows of Crocheted Fence Stitch and to give it a bit of lacy look.

Thanks Margaret for sharing your idea. You helped me to learn a new method to use to make loom knitting more enjoyable. 🙂

I love m new scarf. I think the ends make it look pretty. It’s really cold here, so I’ll be putting it to use here pretty quick.

If you all get a chance go and visit Margaret’s blog, she has lots of pretty and fun stuff to see and do.

Wishing everyone a creative and
pleasant rest of the week.
🙂

spcr1

Needle Punch Embroidery

IMG_7061Through happenstance or what a person might call surfing pinterest, I came upon a needle-craft called Needle Punch Embroidery. 0-IMG_6928
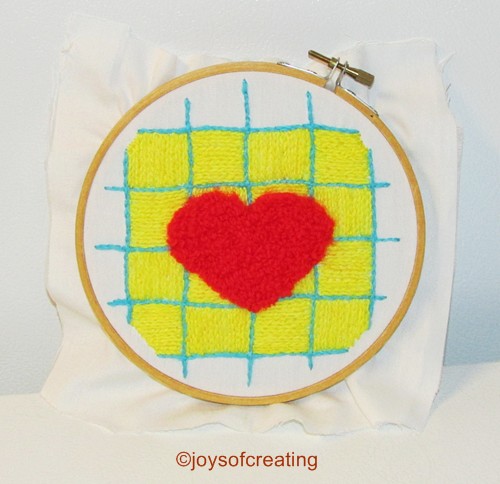
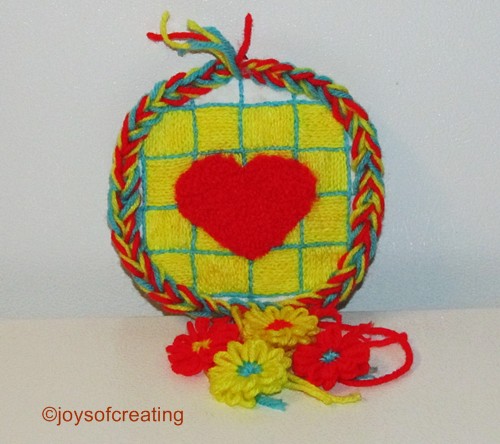
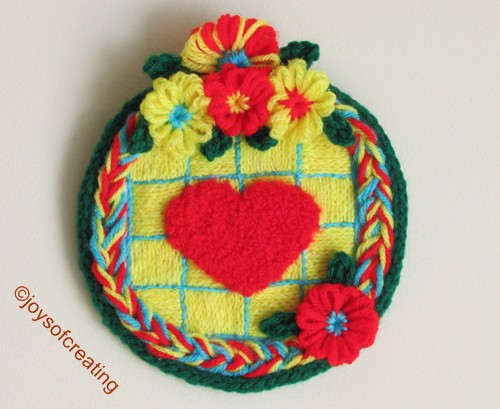
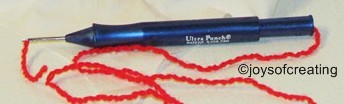
You use a special-made punch needle that feeds the thread/yarn through the fabric and leaves a loop. When you’ve done several stitches, it resembles carpet. I don’t recall seeing or hearing of it before.  Needle Punch embroidery seemed like something that I might be able to learn in short span of time and would probably enjoy doing. Plus, I always like to learn a new craft.

I surfed for awhile in various online craft stores and after a day of thinking about it, I finally ordered a punch embroidery kit and a set of punch needles.
When my order come in, I was dismayed to discovered that I hadn’t ordered the right size punch needles to do the kit with. I went back online and ordered the right size puncher and it should be here in the next couple days.
*I know puncher isn’t what folks call the punch needle, but it’s easier than typing out ‘punch needle’ every time. 😉

Anyway…
I was not to be deterred from trying the punch embroidery.
I improvised. I got some white cotton fabric, put it in a hoop,
drew a heart in the middle
and began learning to use a puncher.IMG_6928
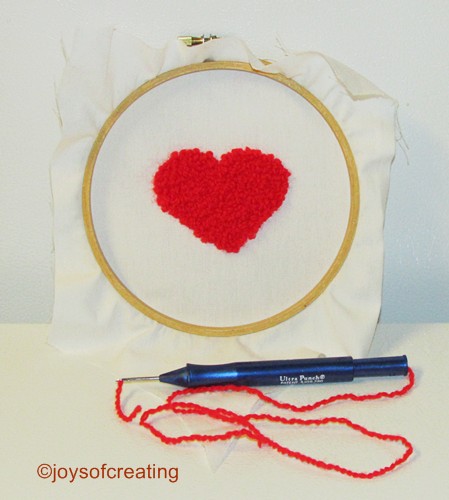
I think my heart turned out fairly well.
I immediately put silicon on the back of the heart and
let it dry for a few hours so the yarn wouldn’t pull out.

I decided to go a bit further with my punch heart piece and do regular needle embroidery around it. After I finished the embroidery, I couldn’t just stop with mounting it on cardboard. It looked so plain. I made a crochet chain and glued it around the edge and then made some loom flowers and put on it. I hung my heart-work on the wall. It was okay, but still had the look of an unfinished thought.
I left it hanging and went about my day. Every now and then I look at it and think it needs something else.IMG_7054

IMG_7096
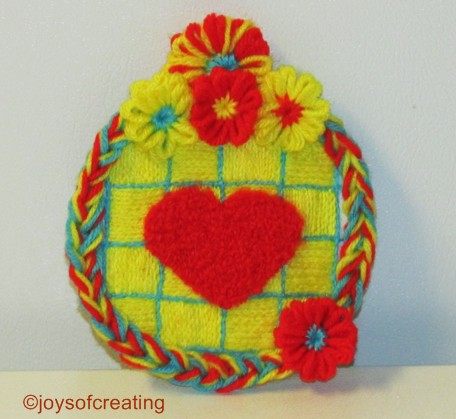
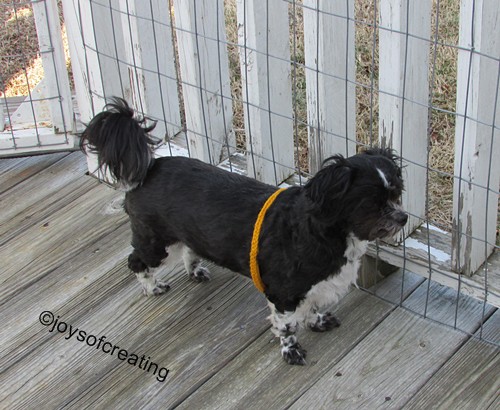
Shelibean has been playing with the test cords I’ve been knitting on my beanpot loom. I watched him prancing around with a gold one wrapped around his belly and it occurred to me that perhaps, I could use a loomed cord to outline my heart-work. Sheli must’ve read my thoughts because he suddenly pounced on my feet with a green loom cord in his mouth.IMG_7091

I took the green cord and glued it around the heart-work and it looked good, but still the piece needed something… mmm.. of course, leaves for the flowers. I crocheted the leaves and glued them on and finally my piece of heart-work was finished.
I’m really pleased with the finished piece.It has so many textures. I enjoyed using alot of different techniques in creating it.
needle punch embroidery
regular embroidery
flower loom
crochet
knitting cord loom
And it only about 7 inches tall.

Unfortunately I’m not sure how these photos look. I’m running a msert file on our desktop and can’t use it to edit the photos. I used my laptop to edit them… so they might be a bit yucky. Later on when I can check my blog on our desktop, if these photos look too yucky, I’ll upload new ones.

Have you ever tired Needle Punch Embroidery?
Do you enjoy learning to do new crafts?

I wish you all a warm week of sunshine.
🙂

spcr1