Last month my Bff called me to tell me a very helpful hint she discovered: use a scrubby to wash potatoes with.
I love this idea and have used it ever since.
 Back in the winter my Bff gave me some nice size scrubbies. They’re bigger than the ones I make. So, she told how many pegs and which loom she used.
I’m so glad she helps me. We have so much fun discussing looming and sharing our projects and ideas with each other.
“Thanks so much my Dear Bff,
Your scrubbies are great and your idea to use them as vegetable scrubber is wonderful.
I’m happy to share your hints with my blogging buddies and readers.” 🙂
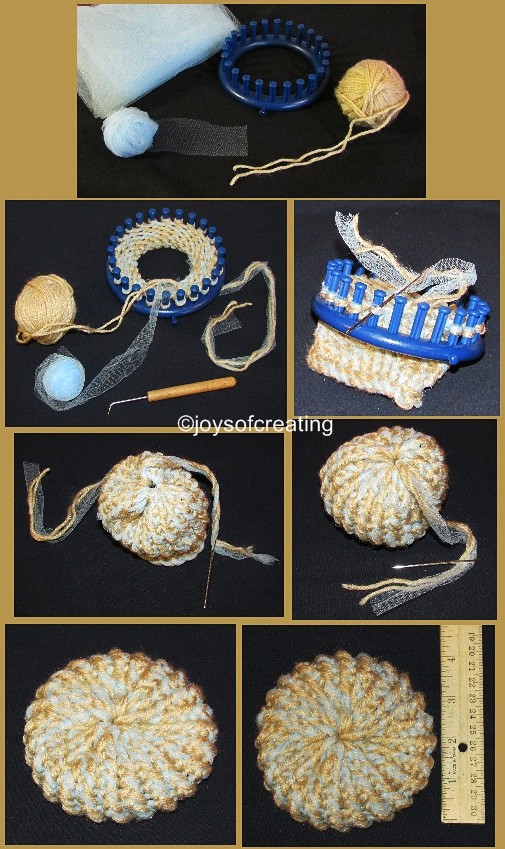
I thought I’d make a bit of a tutorial to show how I now make bigger scrubbies.
I use regular 4 ply acrylic yarn and tulle to make my kitchen scrubbies.
My terminology may be off. I can’t find the right words sometimes. 😉
Also, this tutorial doesn’t explain how to loom knit, but is written for folks who already know the basics of loom knitting.
If you’d like to take up loom knitting, here’s a link to a youtube.com search results for ‘How to Loom Knit’ It has oodles of videos of most anything you’d need to know to get started loom knitting.
And here we go…
Kitchen Scrubbies
knitting loom
knitting hook
Tulle (or some type netting)
Yarn (I use 2 strands of acrylic 4 ply yarn)
Large Darning Needle
Cut the netting in 1 1/2 inches wide strip about 12 to 15 yards long.
Wind the strip of tulle into a ball.
*Leave about a 12 inches yarn/netting strip to weave in to use as a drawstring when you’re finished.
Or use a drawstring cast-on.
Hold yarn and netting strip together and cast them on the loom in your favorite fashion.
*I use a regular e wrap cast on.
Using E wrap, knit 12 to 15 rows.
*I usually just knit until there’s about 12 inches of the yarn/netting strip left.
To bind off, thread a darning needle with the yarn/netting strip and feed it through the loops as you take them off the pegs. Continue until the scrubby is off the loom.
Pull the the yarn/netting strip drawstring tight and tie off
Weave the beginning 12 inch strip of yarn/netting strip in and out of the edge stitches making a drawstring.
Pull tight and tie off.
I generally thread the strip through the scrubby and tack it to the other side to secure it in place.
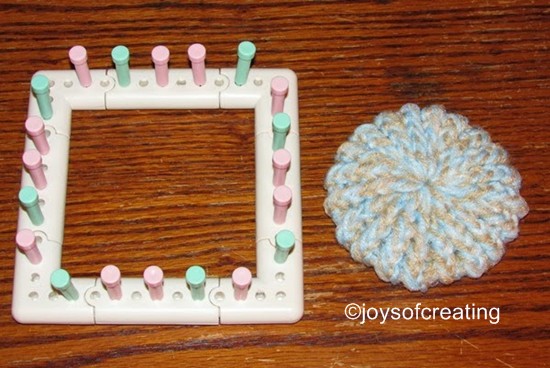
The 5 1/2 inch blue knifty knitter loom makes about a 4 inch scrubby.
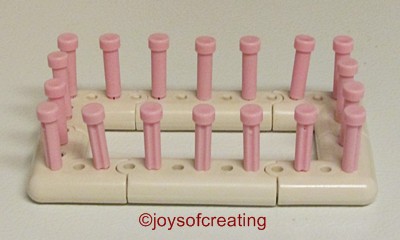
I make smaller scrubbies using a Martha Stwart square loom with 20 pegs.
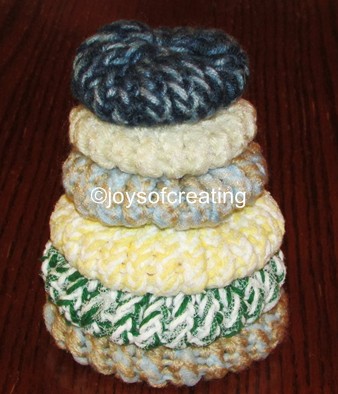
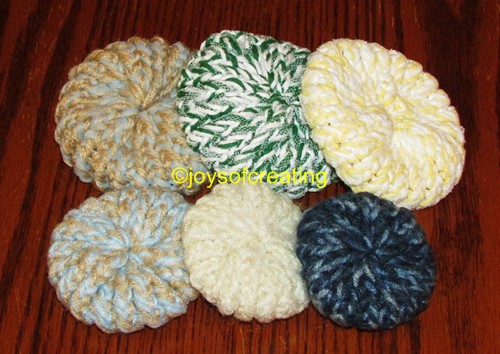
A Scrubby is another handy item that can be made from left over yarn.
—–
Further Resources:
Here’s a link to a tutorial for Scrubbies.
There’s a few differences between it and mine. Go and check it out, it may be a more understandable and a better method for you if you’re interested in loom knitting a scrubby.
edited in 1-15-2019 – hopefully helpful info:
 PVC Pipe Knitting Loom Stands
PVC Pipe Knitting Loom Stands – with lengths for various looms


 I got frustrated at first with the skein tumbling and capturing everything including the attention of (our dog) Sheli. He and I got into a bit of a kerfuffle for a few seconds.
 Anyway, this was a pretty good experiment because now if I want to make an blanket of granny squares out of bulky yarn, I can better guess how much yarn I need.
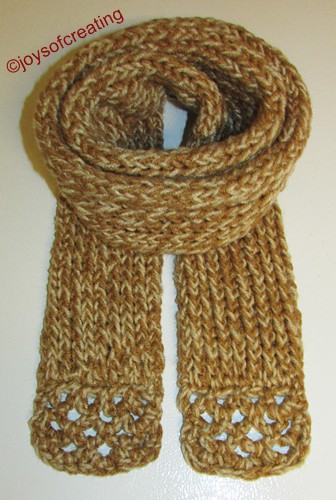 This my new tube scarf that I’ve been working on for the past couple of days. I finished it last night.