
I haven’t worked on my redwork since 2014. We had a lot going on in our lives back then and I couldn’t give it the attention it requires. So, I folded it up and put it away. Fortunately, I had the good sense to put the redwork fabric, embroidery thread and supplies all together in a bag and there they stayed in the drawer for the past 4 years. Having the supplies altogether sure made it handy for me when I decided to return to it.
I went back through my blog posts and read about my redwork. I’ve changed a couple of my plans for it. I’m not going to dye the fabric and I’ve cut the blocks apart. I plan to add a small print red fabric border on the blocks. As it turns out, planning to use a border and cutting the blocks apart was a good move for me because now I only have a few blocks to go, whereas when I had the fabric in one large piece I needed like 16 more pictures to embroider.
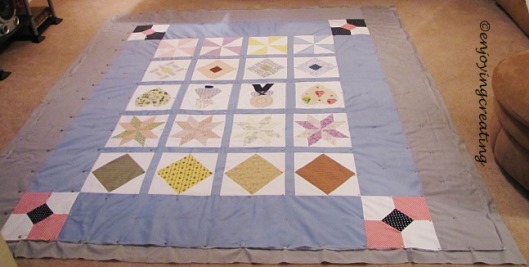
This morning, in an effort to try to arrange the blocks in some sort of order, I laid a sheet on the floor and began to lay out the blocks. Shelibean decided that what the blocks needed was for him to test them for comfort. He found them to be quite comfortable and napped there for about 20 minutes. I didn’t mind, he was cute sleeping peacefully and I was busy going through my coloring pictures and trying to choose some for the last few blocks. I’m glad to have my redwork as an active work-in-progress once again. My Redwork is the perfect example of my starting a project and some times needing to leave it alone until the time is right for me to finish it. It doesn’t really bother me having unfinished projects, matters-a-fact there’s a strange sense of comfort in it for me. Although, from time-to-time I need to finish my unfinished projects before starting new ones. Now that I’ve got my redwork going again, I hope I can keep up my motivation and finish it before the Summer is over, that would make me so happy.
Have a happy weekend.
.

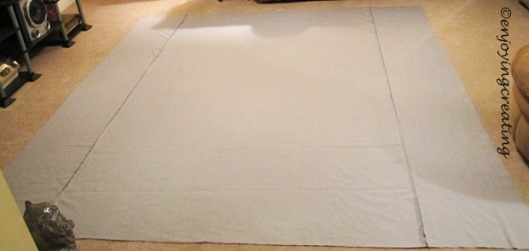 1) Lay backing on the floor wrong-side up
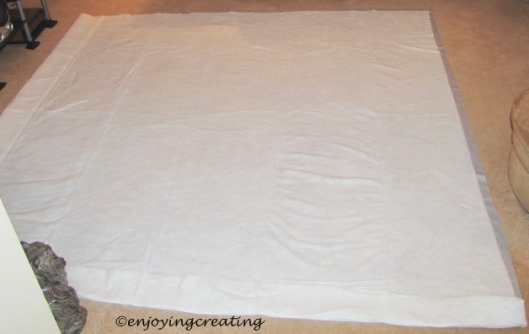 2) Lay batting on top of backing
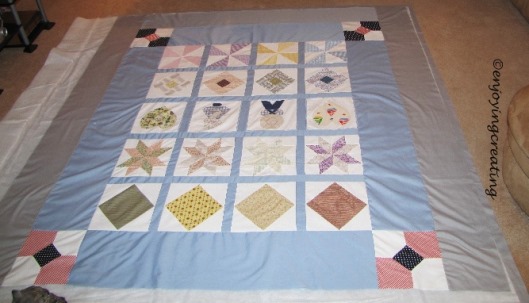 3) Lay quilt top right-side up on top of batting.
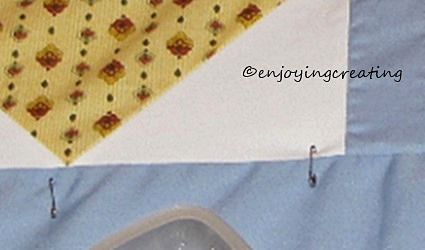 4) Starting from the outer edge, Use safety-pins to join the top, batting & backing together.
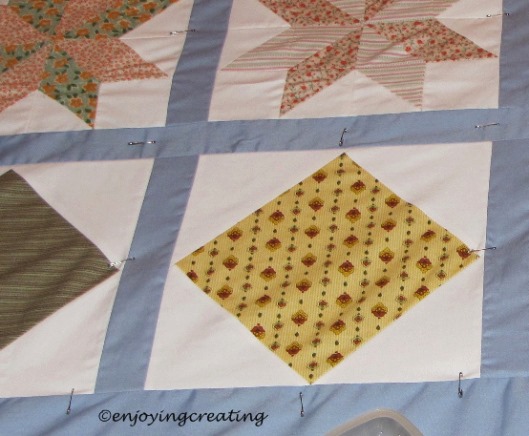 I roll the quilt up as I go because it makes it easier to handle.
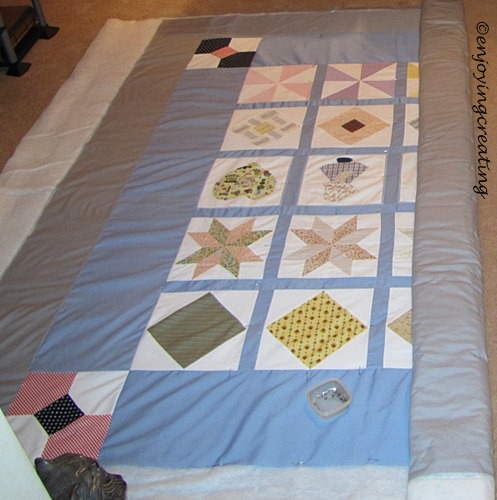
 5) After it’s pinned all the way across,
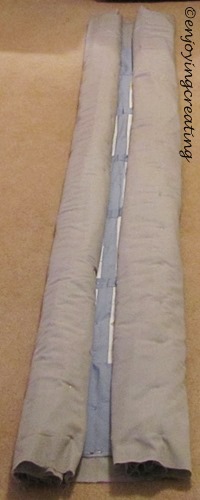 6) Starting at outer edge, roll each side to the middle
 7) Carefully slide the quilt under the pressure foot.
 8) Starting in the middle, Sew in the seam (ditch) or near the seam.
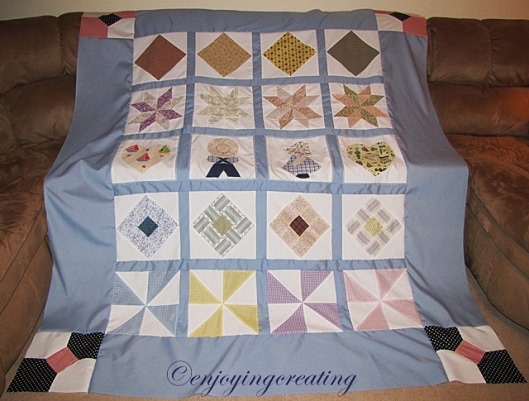
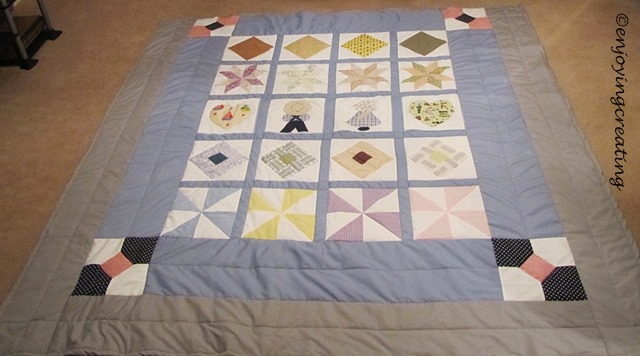 9) Here’s the finish quilted quilt
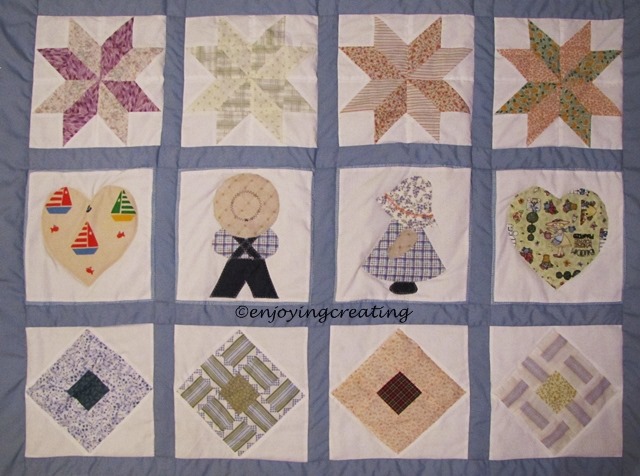 10) Above photo is the middle after it’s quilted.
 11) Here’s what the back of the finished quilt looks like
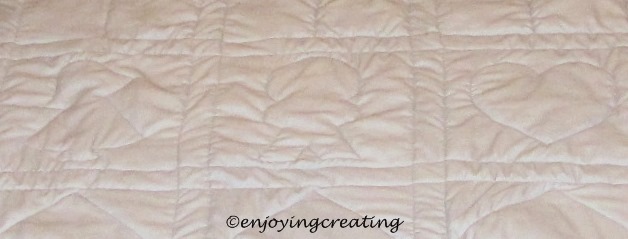 12) Here’s a close up of the back of the finished quilt.


 Back in 2011, I made two quilts. On the the first quilt I made, I ran into a problem of finding the right print fabric and I had to improvise. I coffee-dyed a piece of fabric and then cut my heart applique out of it and used it in the quilt.
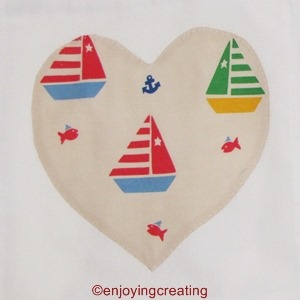


 Our internet & phone issues worsened over the past few days.
 ~*~
~*~
 Have a dandy of the rest of the week!
