
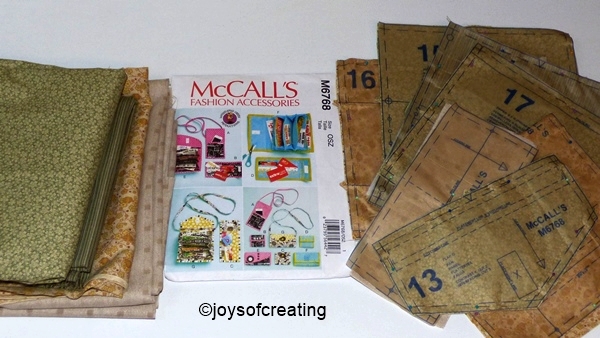
 I had to take a break from making my wallet because the pattern has oodles of fold lines and guide dots that needs to be marked on the fabric. When I was doing redwork, I used a makeshift light-box to trace the designs on my fabric. That method won’t work with my printed fabric. I decided to use tracing paper to make sure I get the placement guides and fold lines in the right spots.
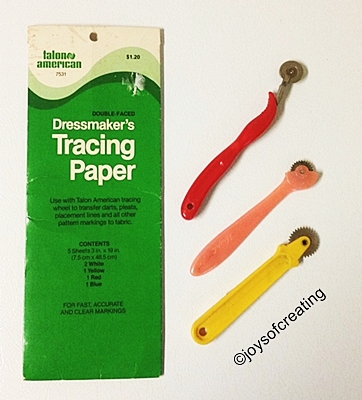
I have a pack of tracing paper that I bought about 1985. I used tracing paper a lot in them days. I sewed constantly back then making toys and clothes. I went to my old sewing box and got out my old tracing paper and my tracing wheels. I lined the tracing paper in the fabric and pattern. And began to trace a test spot… imagine my surprise when no line was on my fabric. I tried a dark color and again no marks.
Well, horse-feathers I reckon that after 3 decades my old tracing paper doesn’t work anymore. Imagine that? ![]()
Time to go shopping:
I went to 2 different department stores: they had fabric, patterns, pins, scissors, buttons and many other notions, but not nary a bit of tracing paper. ~bummer~
I know that sewing is a fairly big industry since so many folks are running home businesses selling homesewn bags, clothes, accessories, etc… A lot of patterns have fold lines and guides that needs to be marked or traced. I think tracing paper is best for that task. I went online and nosed around to see what the sewers are using now-a-days. Well, I discovered that the favorite suggestions was to either use a long baste stitch along the pattern guides or take a sheet of paper and heavily scribble/color on it making it tracing paper; they did warn that it was awfully hard to remove the traced color lines from your fabric.
Um, nope… I don’t want to fight with removing color marks from my fabric. If the color lines won’t come off, the newly sewn project would be odd looking.
*I’ve always used a baste stitch for darts. However, I choose not to use basting stitches for marking oodles of fold lines and guides.
 I shopped online and ordered some tracing paper. I had to wait for a few days for it to arrive. Of course when I have to wait, I get sidetracked with other projects. Finally, the tracing paper arrived, but I haven’t used it yet. At least it’s on hand whenever I need it. Hopefully, I’ll have an updated sewing post on my wallet soon.
Do you use tracing paper or something else for guides, fold lines or darts on patterns, when you sew?
Do you have problems finding supplies for your crafts and creations in your area or do you have to order them online like me?
Wishing you all much success in your creative projects.
*Just an added note here:
I haven’t finished my redwork project. I stopped working on it in early 2014. I put it away until I’m ready to work on it again. I hope to get back to it and finish it someday.
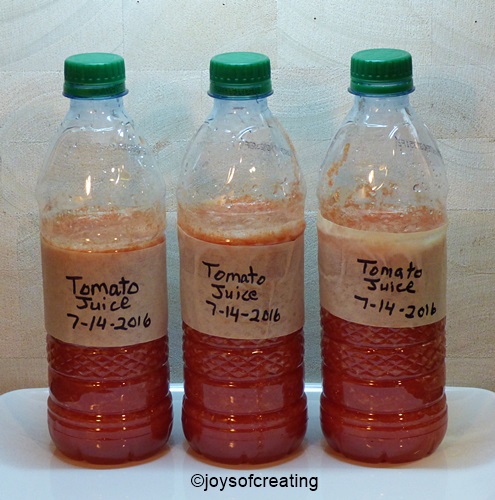 Last evening, I had a brainstorm of an idea for my tomato juice. If I freeze it in water bottles, it’ll take up less space and can be thawed out for drinking and/or cooking just like the juice frozen in the bowls. My husband liked the idea too. So today after I made and cooled the tomato juice, I poured it in bottles and set it in the freezer. Hopefully it’ll do just fine.


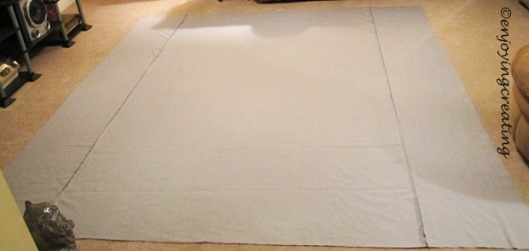 1) Lay backing on the floor wrong-side up
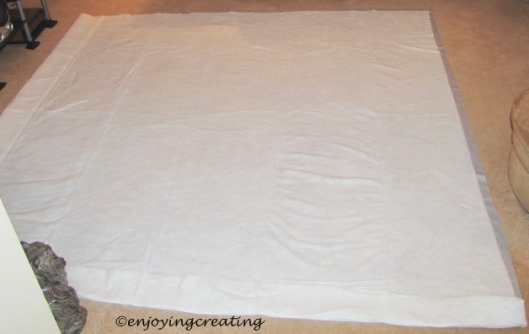 2) Lay batting on top of backing
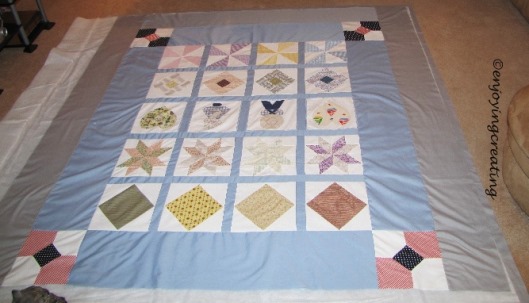 3) Lay quilt top right-side up on top of batting.
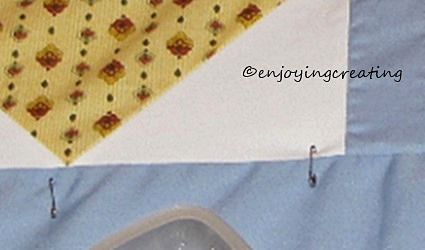 4) Starting from the outer edge, Use safety-pins to join the top, batting & backing together.
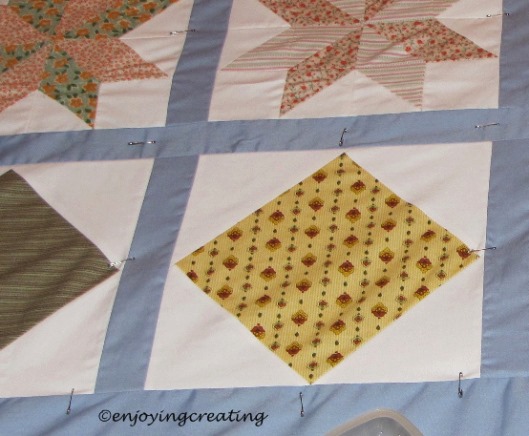 I roll the quilt up as I go because it makes it easier to handle.
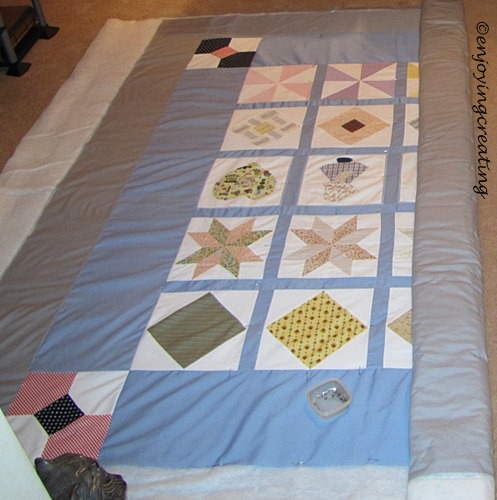
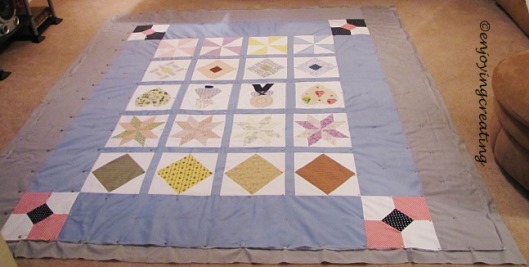 5) After it’s pinned all the way across,
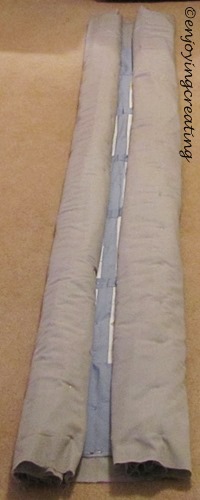 6) Starting at outer edge, roll each side to the middle
 7) Carefully slide the quilt under the pressure foot.
 8) Starting in the middle, Sew in the seam (ditch) or near the seam.
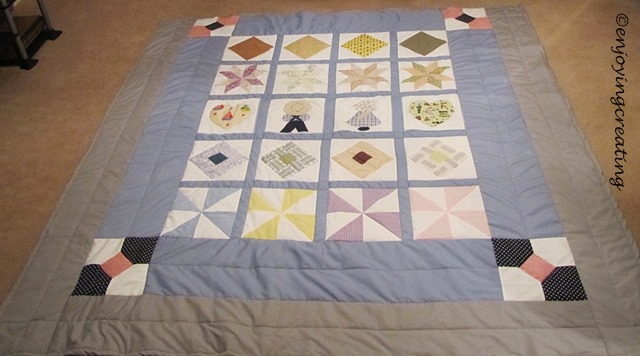 9) Here’s the finish quilted quilt
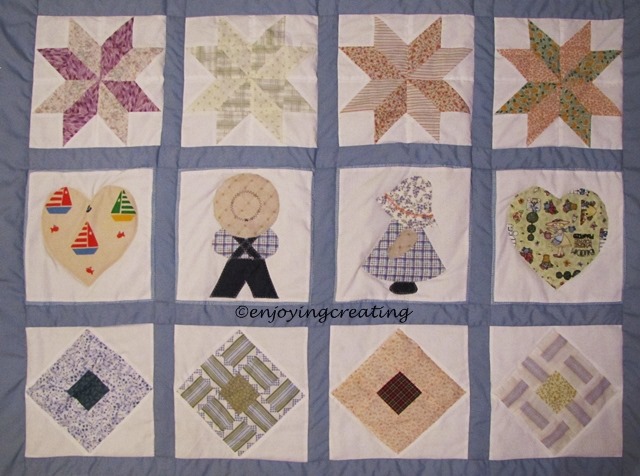 10) Above photo is the middle after it’s quilted.
 11) Here’s what the back of the finished quilt looks like
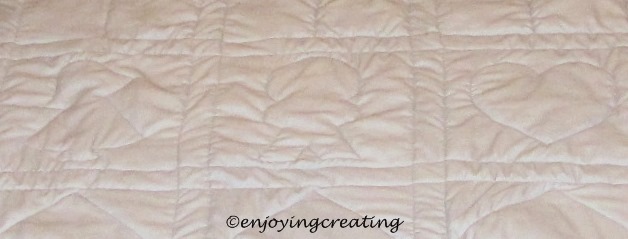 12) Here’s a close up of the back of the finished quilt.