Now that some of our green onions are mature enough to harvest, it’s time to make some Bruschetta toasties. Later on in the season, I’ll be replacing a few more of the ingredients with homegrown. But for now, we have fresh onions and we’re happy with that. 🙂
Bruschetta can be used in many ways. It can be eaten like a small side dish or mixed in a salad. It’s makes a dandy pizza topping. We enjoy it made into toasties, the recipe is quick and easy. It goes well as toppings on baked chicken too. I’m figure there’s quite a few ways of using bruschetta to make tasty foodies.
I’ve altered my 2012 Bruschetta Recipe to accommodate our new low sodium diet. I’ll post the original recipe under my new one.
If you try one of my recipes, I hope you’ll let me know how it turns out for you and any changes you made to it.
🙂

Bruschetta Mix (2014)
1 can (14.5 oz) Hunts ‘No Salt Added’ Diced tomatoes with Basil, Garlic & Oregano – drained
1 can (8 oz) Mario ‘Low Sodium’ medium black olives – drained & chopped
1 cup chopped onions
3 tbsp olive oil
1/2 tsp basil
1/4 tsp parsley
1/2 tsp Mrs Dash Garlic & Herb
1/4 tsp Morton ‘Lite’ salt mixture
1/8 tsp black pepper
Mix all these ingredients together and put them in an airtight bowl and refrigerate for up to 3 days.
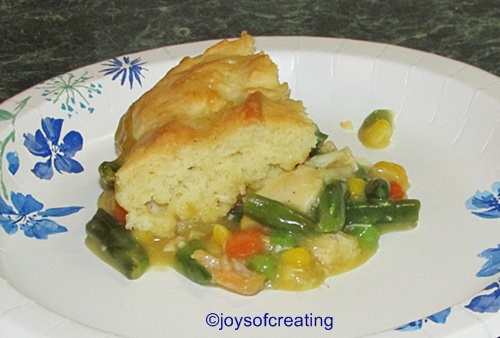
Baked Bruschetta Toasties
Sara Lee Honey Wheat bread
Sargento 4 Cheese Mexican
Preheat oven to 350°
Place slices of Sara Lee’s Honey Wheat bread on a cookie sheet
Put Bruschetta mix on slices of bread and cover with shredded cheese.
Bake for 8 to 12 minutes until cheese is melted.
allow to cool
enjoy
===============================================

Bruschetta Mix (2012)
1 can (14.5 oz) petite diced tomatoes – drained
(you can use chopped fresh tomatoes)
1 can (8 oz) medium black olives – drained & sliced
3/4 to 1 cup chopped onions
1/4 cup olive oil
3/4 tsp basil
1/2 tsp garlic salt
1/4 tsp salt
1/4 tsp black pepper
optional ingredients:
chopped mushrooms
chopped bell peppers
Mix all these ingredients together and put them in an airtight bowl and refrigerate for up to 3 days.
Baked Bruschetta Toasties
Preheat oven to 350°
For this you need your choice of sliced bread. (We like herb bread)
Place slices of bread on a cookie sheet
Put Bruschetta mix on slices of bread and cover with shredded cheese.
Bake for 8 to 10 minutes until cheese is melted.
allow to cool
enjoy
————————————-
Wishing you all a great week & delicious foods!


 I’ve been wanting to try to make a soda-pop cake. It’s not something that was on my to-do list, but something I thought about from time-to-time (especially every-time there’s a certain commercial on)
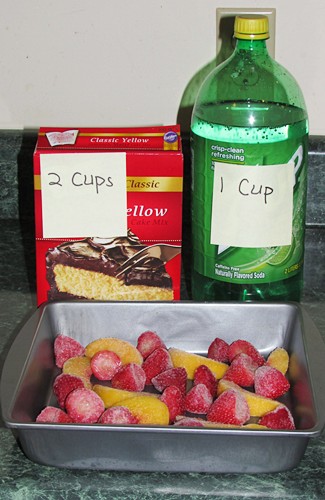 8 inch Soda-pop cake


 Yesterday I gathered ingredients together to make a loaf of strawberry bread. I set my recipe & stuff up like I always do and then it occurred to me that I wanted to make a post about a few of my favorite hints for re-using/recycling clippy hangers or pant hangers.