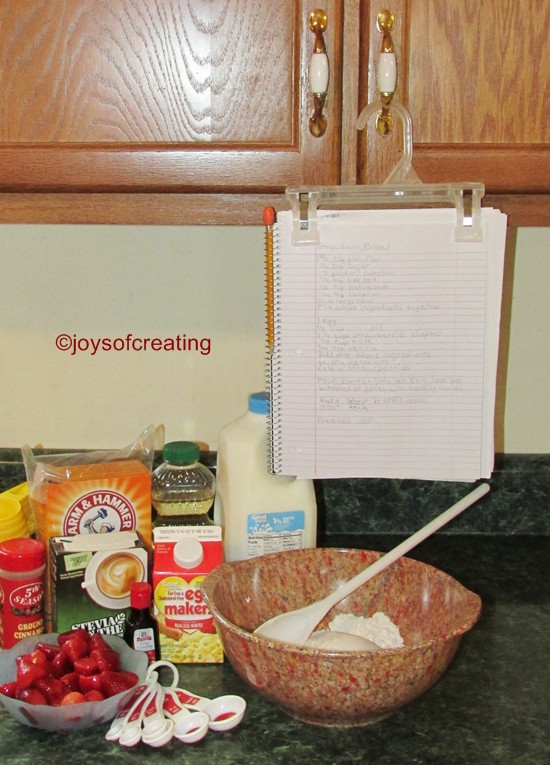
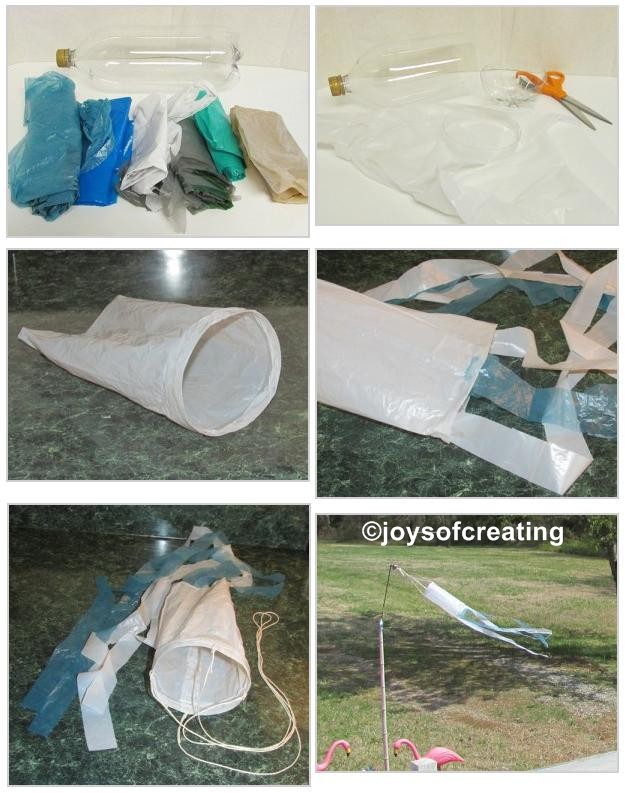
 Yesterday I gathered ingredients together to make a loaf of strawberry bread. I set my recipe & stuff up like I always do and then it occurred to me that I wanted to make a post about a few of my favorite hints for re-using/recycling clippy hangers or pant hangers.
These are not my ideas and they’re not new ideas. You may have seen them or read of them before. I still want to share them since they’ve been a help to me.
I’m very grateful to clever folks who shared these hanger ideas on the web. I surfed around and tried to find the earliest posting of these hints on the web. I posted the links and dates with the hints. (If you know of an older posting, let me know and I’ll edit it in.)
Now without further ado, here’s a few clippy hanger hints.
~*~
Use the clippy hanger as a recipe book holder. Just clip it on the book and hang it from your cabinet door.
It keeps the book off the counter and helps to allow more counter space to use for making foods.
I really enjoy this hint. I use it alot.
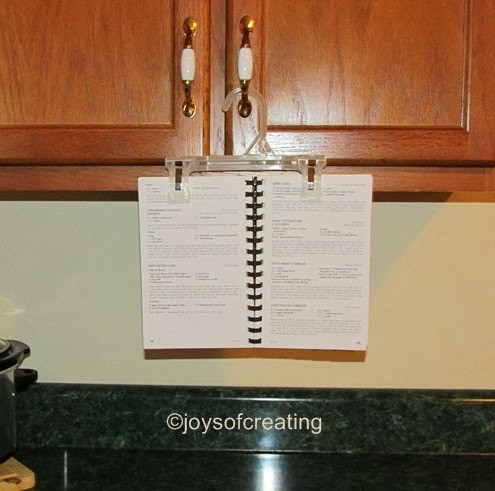 The hanger cookbook holder – February 06,2009
~*~
Cut the clips off the hangers and use them for bag clips or like clothes pins, paper clips, chip clips or clips to help hold things together in crafts, such.
I tried and failed miserably to cut the clips off with huge industrial scissors and with a wire cutter. My compliments to whoever designed the hangers, they are super sturdy and hard as the heck to cut. I didn’t have a saw, so I used my craft drill to cut the clips off with it.
I really like having these inexpensive clips, they’re super handy to clasp on to a bag or hold a craft together or papers together. There’s so many uses for them.
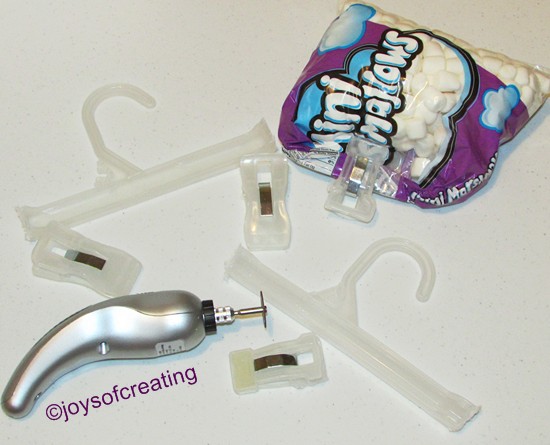 Unexpected chip clip – August 19, 2009
~*~
Cutting the clips off the hanger came from a forum and as I read further down the thread, someone suggested putting magnets on the back of the clips for refrigerator clips. There was mention of how to decorate them, but I chose to wing-it and do it my own way.
 I got out my flower loom and made a flower. I intended on having one simple flower on the clip… well seeings how it’s the unwritten duty of a crafter to over embellish, whenever the opportunity is there, and I take my crafter duties seriously, I made a couple more flowers and crocheted 4 leaves. I’d of added more, but I ran out of room on the clip. lol It’s quite cheerful looking and I’m
 surprised happy with the gawdy fun results. (I may decorate my recipe book hanger too. )
 Refrigerator clips – August 19, 2009
~*~
I think those hints are clever ways to recycle and reuse clippy hangers. I used the leftover part of the hangers to hang up a couple plastic bags of craft supplies in the closet. Storage space is dear in my craft room and I’m always happy to figure out new ways to hoard store supplies.
I’m fortunate to have dozens several of these hangers on hand from buying clothes for my grandson over the years.
I’ve given several away while passing on the hanging recipe book hint. My grandson really got a kick out of that idea and even took a couple hangers home to his Mom to show and give to her. I love that he enjoys sharing fun helpful ideas. He’s such a sweetie.
Next time you have some extra clippy hangers laying around, I hope you’ll consider giving one of these hints a try.
Do you know any helpful for re-using or recycling hangers? You’re welcome to share them, if you want.
Here’s hoping that you’ll have an enjoyable rest of the week hanging out waiting for warm weather.
🙂


 ……..
……..

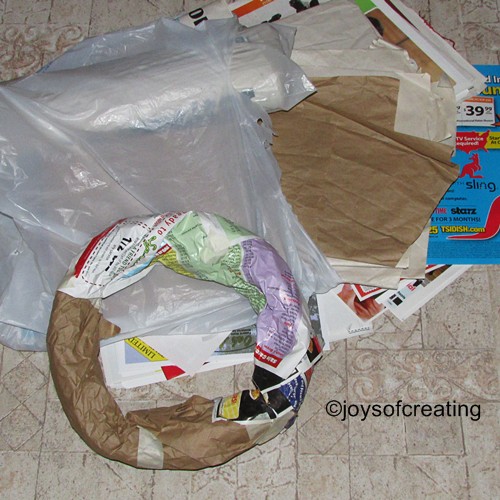
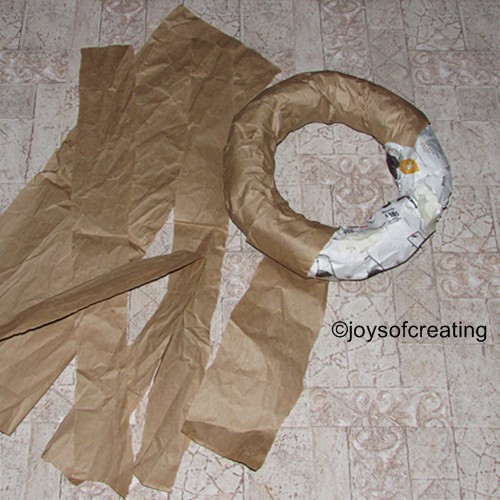
 It takes lots of old paper to make a wreath base and it’s a good way to recycle paper too.


 I got frustrated at first with the skein tumbling and capturing everything including the attention of (our dog) Sheli. He and I got into a bit of a kerfuffle for a few seconds.
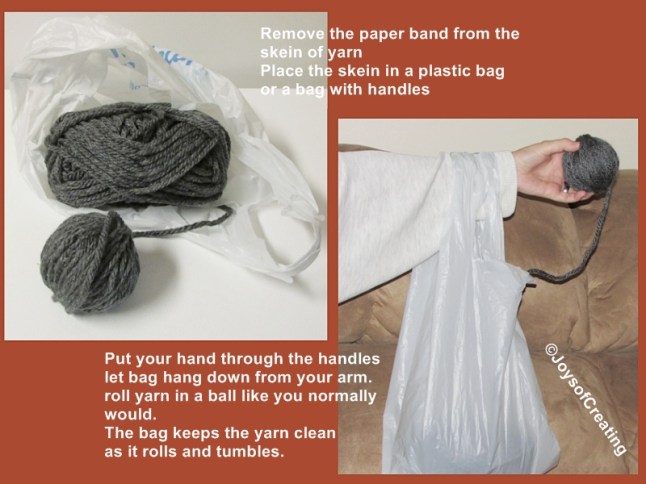
 Anyway, this was a pretty good experiment because now if I want to make an blanket of granny squares out of bulky yarn, I can better guess how much yarn I need.
 Through happenstance
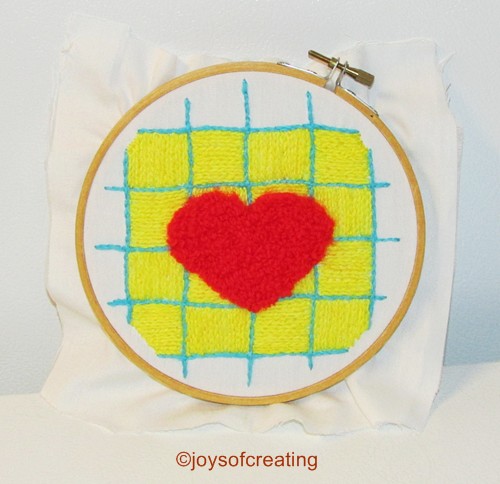
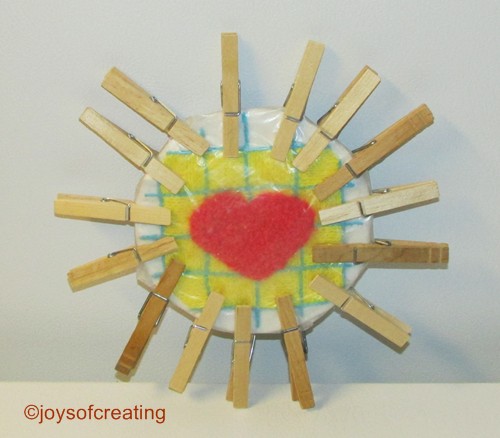
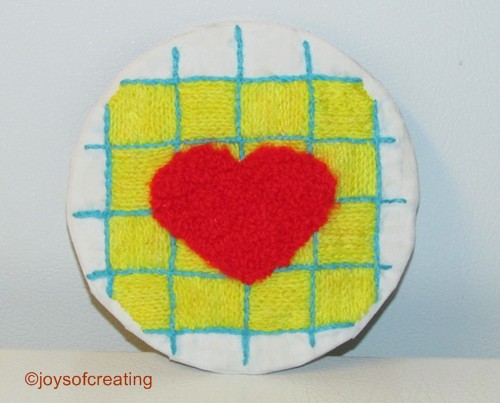
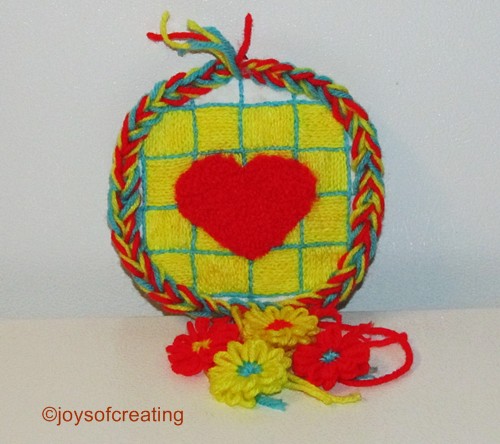
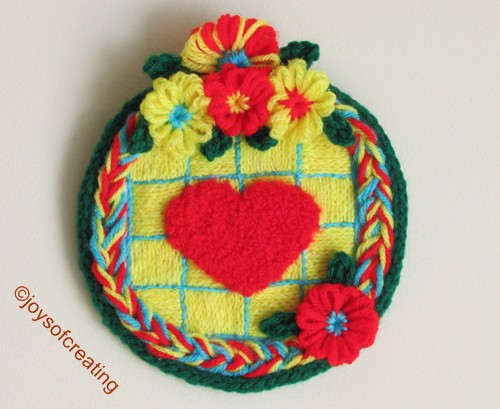
 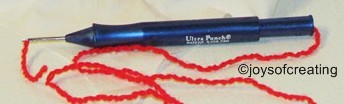 You use a special-made punch needle that feeds the thread/yarn through the fabric and leaves a loop. When you’ve done several stitches, it resembles carpet. I don’t recall seeing or hearing of it before. Needle Punch embroidery seemed like something that I might be able to learn in short span of time and would probably enjoy doing. Plus, I always like to learn a new craft.
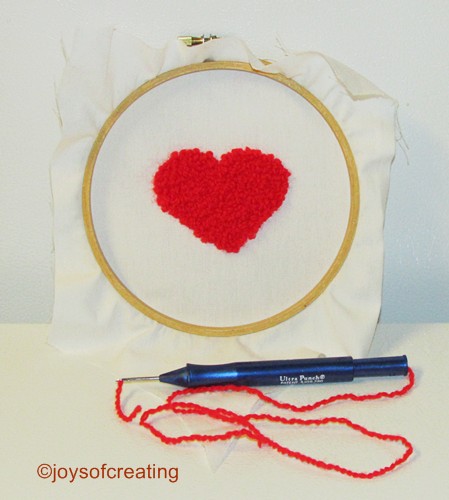 I think my heart turned out fairly well.
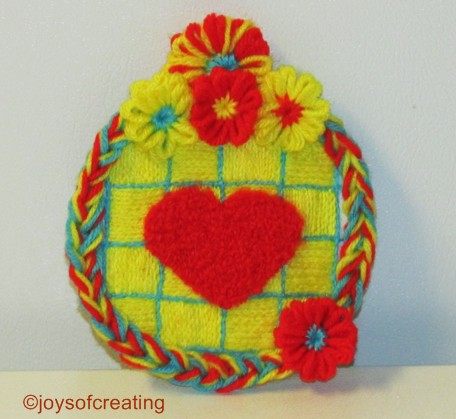
 Shelibean has been playing with the test cords I’ve been knitting on my