I wasn’t happy with my crochet shawl project. I unraveled it and started again with a c2c v-stitch pattern. It’s taken me some time to work it out, but so far, it’s going well.
 I finished my diamond painting. I’ve decided not to frame/hang it up. I’ve added it to our portfolio folder-notebook. I used to just roll up the finished diamond paintings (dps) and keep them on a shelf. Whenever we’d want to look at them, I’d have to unroll them all, then roll them back up. It was okay, but not really enjoyable.
Fortunately, my blogging buddy Claire mentioned on her blog how she keeps her dps in a portfolio. It’s such a great idea. I leapt on that idea and ordered us one. The portfolio can hold 60 or more depending on size. That works our great for us.
“Thank you so much, Claire. You’ve helped make our diamond painting more enjoyable. ❤ ”
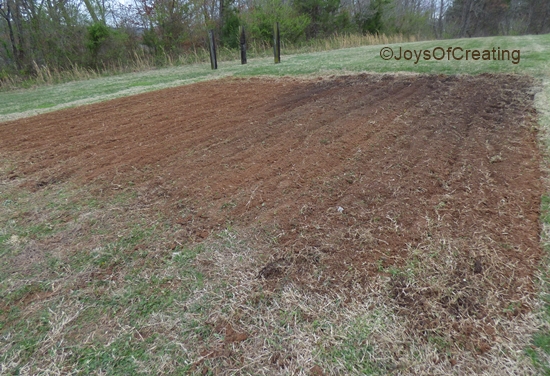 My husband is really in the gardening mood this year. He tilled up a small garden spot. I might add that since he tilled the garden spot, we’ve had several rainstorms and the temperatures have been running as low as in the mid 20°F. So, for now, we wait… Come on warm weather and some dry days to plant!
I wish all of you oodles of nice Spring weather.
Have a super rest of the week!
P.S. I’ve ran into some pc issues the past few weeks. I’ve pretty much got them worked out. A new battery and a factory reset did the trick. Hopefully, it’ll be smoother sailing for a while. Now it’s time to play catch-up on my visiting and blogging. 🙂

 Originally, When I bought this garden sign it was too plain for such a good message.
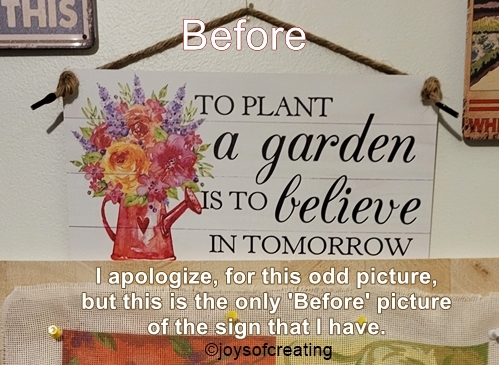
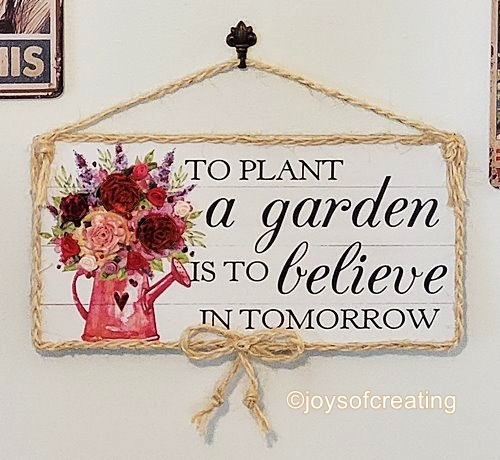 So, I decorated it with a glue gun, twine, silk flowers and some glitter paint.
 I was happy I could give it a bit of the glamour that it deserved.
 I’m making a bit more progress on my
  Now for the Secret of the Butterflies. The butterflies in the bouquet behind the needlepoint are really pretty in real life. As I was watering the bouquet the other day, I discovered that the butterflies are made of painted feathers. The body seems to be made with some kind of clay. They’re so cool!
 My husband really likes the way I’ve decorated the lanterns he gave me. I’m quite happy with the way they turned out.
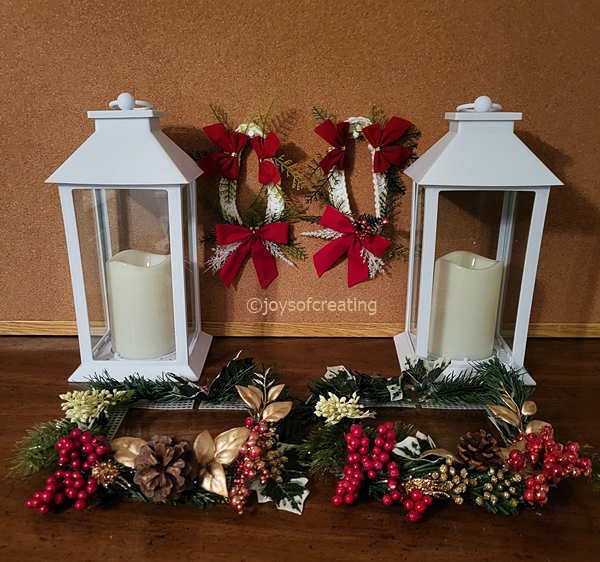 These lanterns are special to me. It took me awhile to figure out how to decorate them without permantly changing the lantern body. I’m happy with the way I figured it out.
 I had a fun day of designing and creating these decorations for my lanterns.
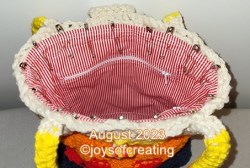
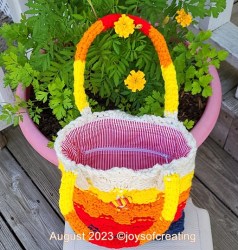
 It has a zipper-pocket on each side inside.
 I’m ever so much happier with my old Bright Tote Bag now.