
 I got a little brainwashed during the days leading up to the super bowl. Normally, I don’t pay commercials any attention. However, after several decades of being exposed to them, one can’t help but experience some influence… and that’s why for the first time ever, I felt the need to make a cheese-ball.
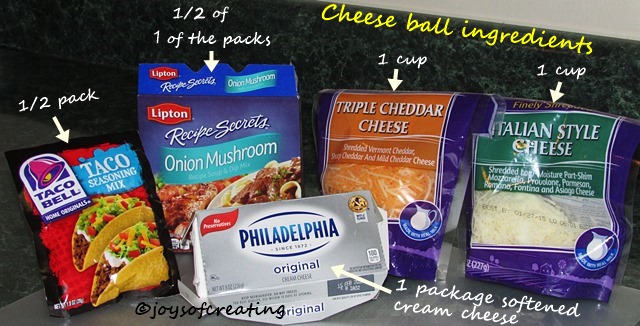
I went in search of a cheese-ball recipe and it was over whelming. I got the general gist of what makes a cheese ball. Cream cheese was a reigning requirement, the majority of recipes called for 2 packs. I don’t usually have cream cheese on hand, but amazingly enough I had one pack left over from the holidays.
Many recipes called for chopping up things like onions, garlic, nuts and peppers to add to it. That’s okay, but I was in no mood to deal with that much work.
Mix everything together.
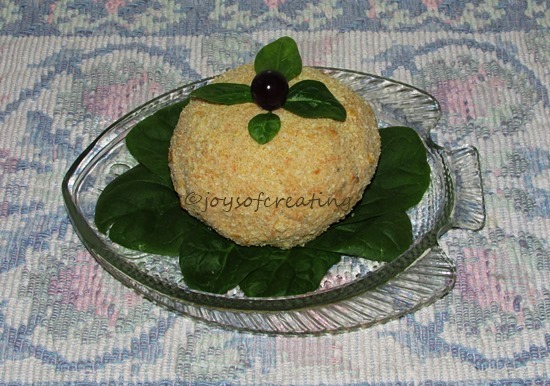
Form into a ball.
Refrigerate til firm.
Roll cheese-ball in crushed crackers or crushed nuts.
Serve with crackers
So, I created my own recipe. It’s plain and a bit blandish, but served on Italian Herb Flatbread (crackers), it tastes quite good.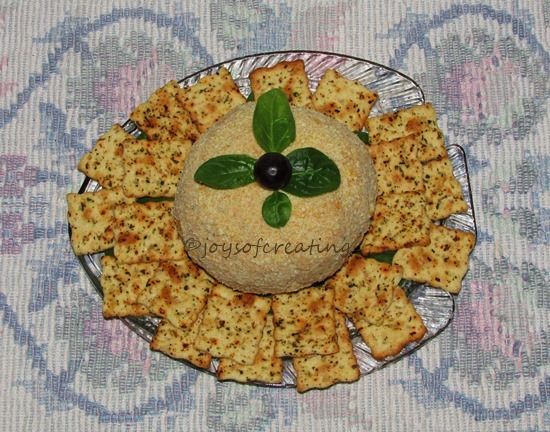
I’ll probably, make my cheese-ball a part of our traditional holiday recipes.
Fortunately, I can add anything I want in it and change it up special for whatever holiday or occasion I make it for.


 I was doing a bit of organizing in my craft room by putting my yarn into large bags… well, I was beyond surprised to see that I think I might be a yarn-hoarder. lol


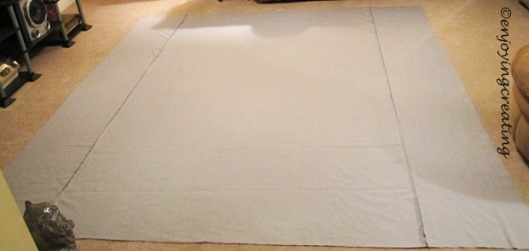 1) Lay backing on the floor wrong-side up
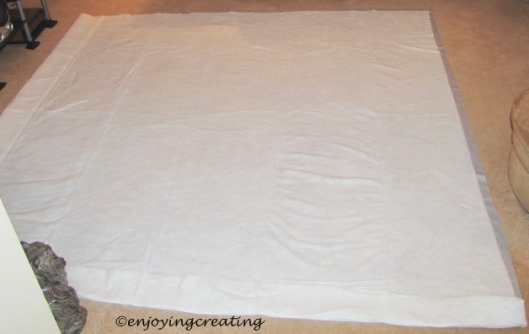 2) Lay batting on top of backing
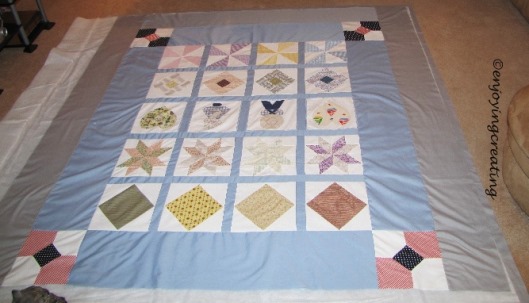 3) Lay quilt top right-side up on top of batting.
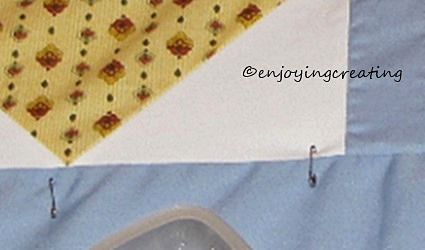 4) Starting from the outer edge, Use safety-pins to join the top, batting & backing together.
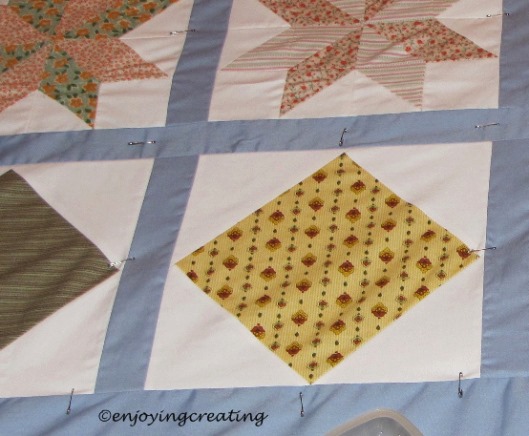 I roll the quilt up as I go because it makes it easier to handle.
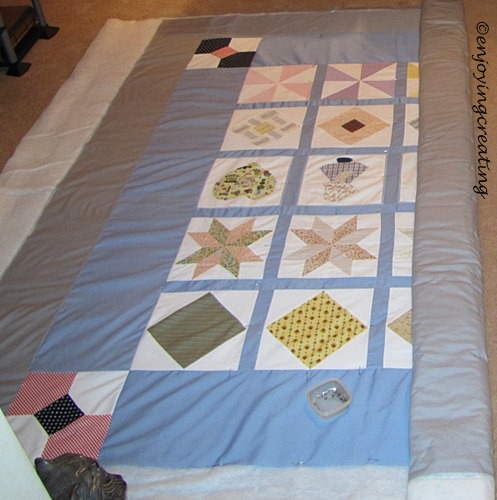
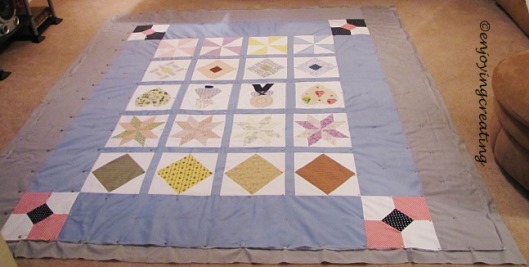 5) After it’s pinned all the way across,
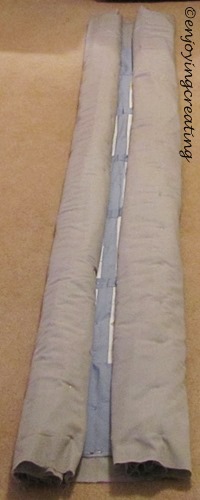 6) Starting at outer edge, roll each side to the middle
 7) Carefully slide the quilt under the pressure foot.
 8) Starting in the middle, Sew in the seam (ditch) or near the seam.
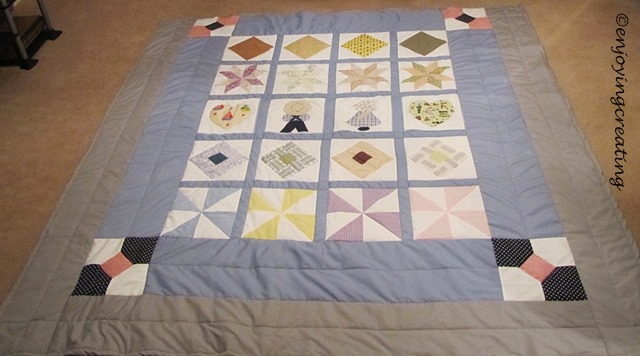 9) Here’s the finish quilted quilt
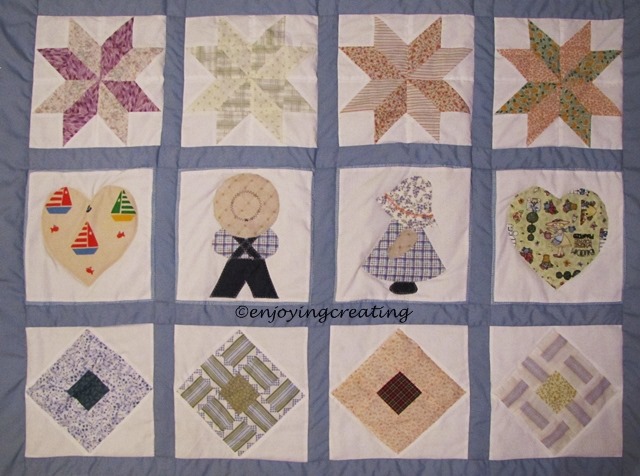 10) Above photo is the middle after it’s quilted.
 11) Here’s what the back of the finished quilt looks like
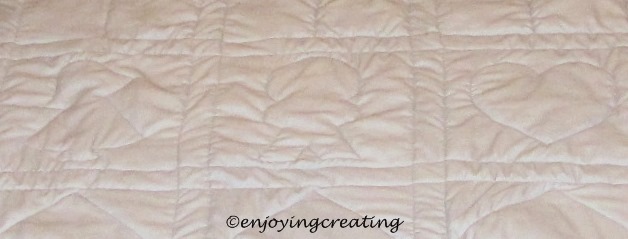 12) Here’s a close up of the back of the finished quilt.
