Updated 7-14-2017
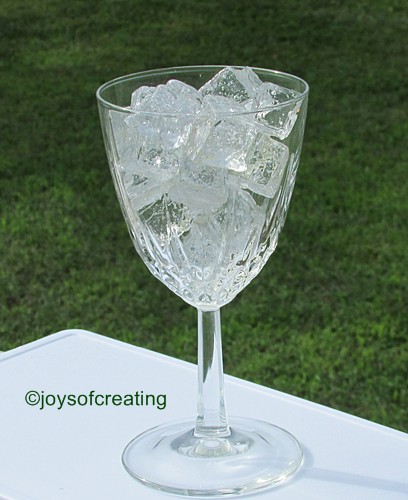
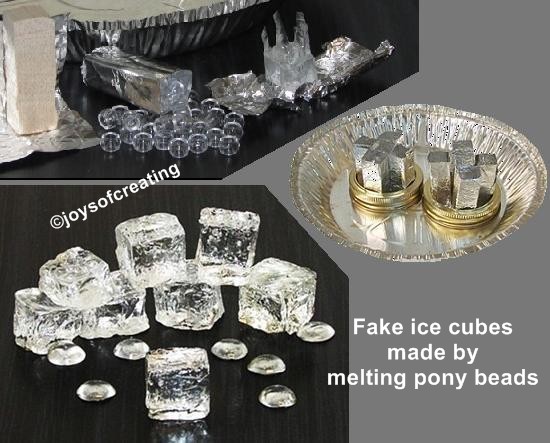
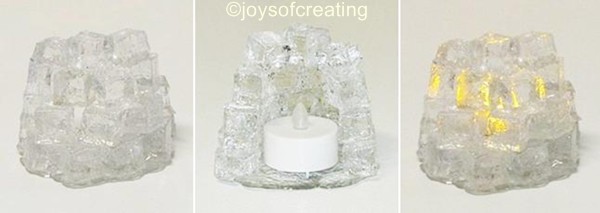
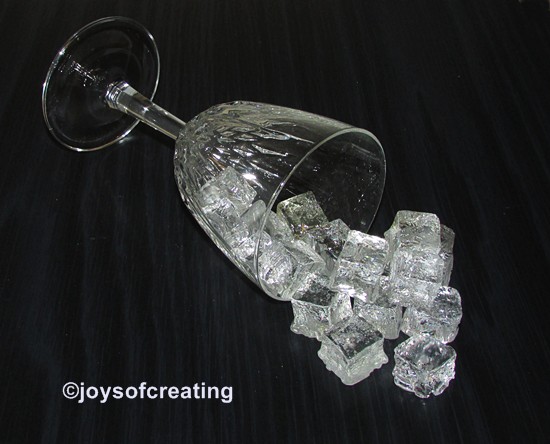 I learned how to make ‘fake ice cubes’ by melting clear pony beads.
The tutorial I followed was on flickr.
Unfortunately that tutorial is now gone. However, I’ll look around and see if I can find another tutorial that is easy to follow… or I may make one myself. Either way, I’ll update this post in the future.
It took a few tries for me to get the hang of it. I really like the results.
I’m amazed at how real the fake ice cubes look.
I can think of several projects to use the fake ice cubes with.
Have you ever made fake ice?
I hope you all Have a cool day!

~*~
IMO – This craft is Not for children!
~*~
The tutorial I used is now gone. But here are a few things I did that made the process easier.
There’s a few things I adjusted, added or did different.
*I used balsa wood to make my ice cube form.
*Keep the area well ventilated: I opened my windows and turned on ceiling fans and ran the stove-hood fan.
*Apparently my oven doesn’t heat as hot as the author of the tutorial’s does.
I had to bake at 400° to get the beads to melt successfully.
*I also had to bake them longer: I’d put half the beads in the form and bake them for 15 minutes then put the rest of the beads in and bake for another 15 minutes.
*Keep a close eye on these as they bake to make sure they don’t burn.
*Let the cubes cool before trying to unwrap the aluminum foil.
*To give the cubes a shiny finish, after I peeled the aluminum foil off my ice cubes, I trimmed off the shards and rough edges and then put the cubes back on the pan and in the oven for about 3 to 5 minutes. I was careful to watch so they wouldn’t melt too much.
*I took them out of the oven and let them cool.
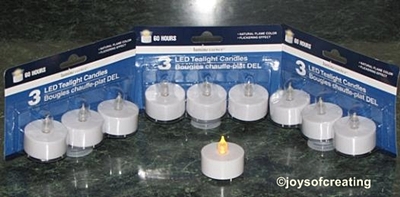 Using a battery operated tea light
I made a fun little icy temporary tea light.

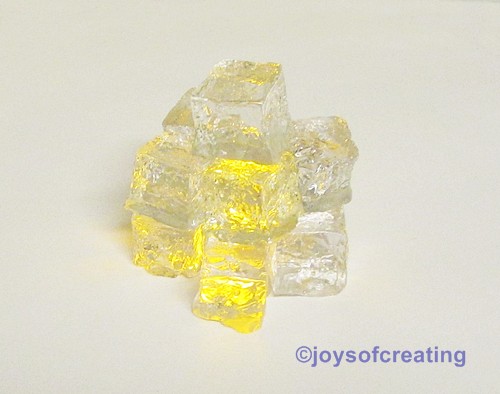
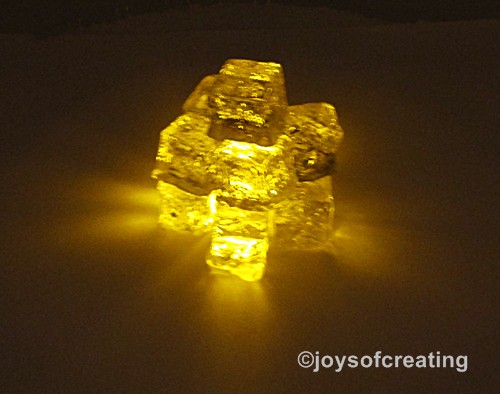
edited in 6-11-2014:
I made this tea light by gluing the fake ice cubes together with E6000 glue.
end of edit…
There’s a few tutorials on the web on how to make fake ice by melting beads in metal ice trays.
I apologize for the missing links to the tutorial.
I’ll try to do an update soon. with either my own tutorial or a link to one.
.
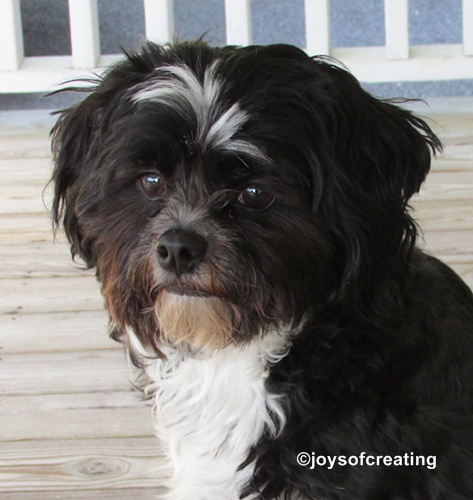
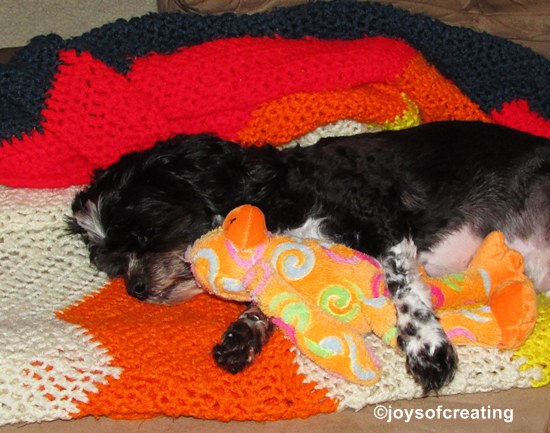 Our Birthday Boy spent most of the weekend playing and napping with his new toy. Turning 2 must’ve wore him out. lol Shelibean is such a cutie-pie when he’s napping. 😉
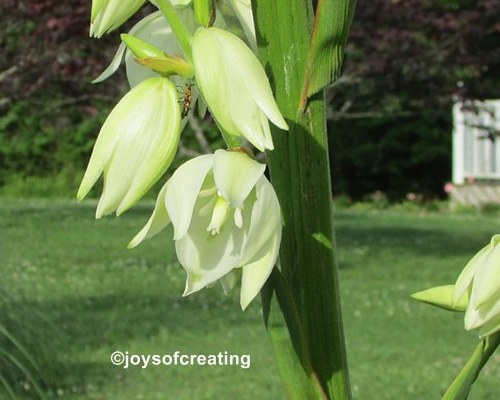


 Our area has been hit by some storms the past couple days. Today is beautiful and the sun is shining. The clouds are amazing. It’d be a good day for lying on a pallet and watching the clouds change shapes. In the middle of my above photo, that’s a real heart shaped cloud that was hanging in our sky. It made me smile and I knew I had to share it with you all.


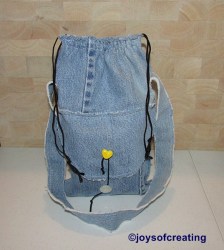
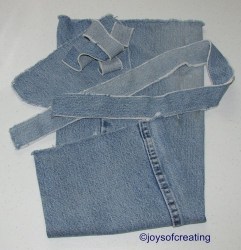
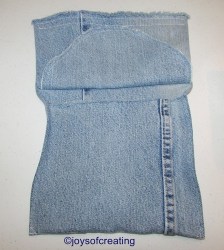
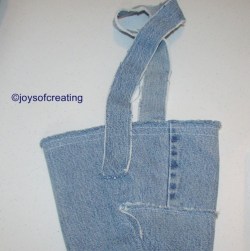
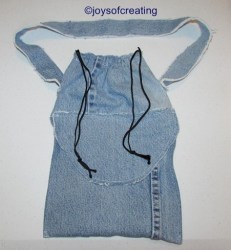
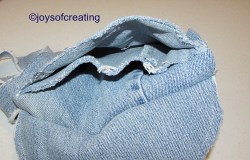
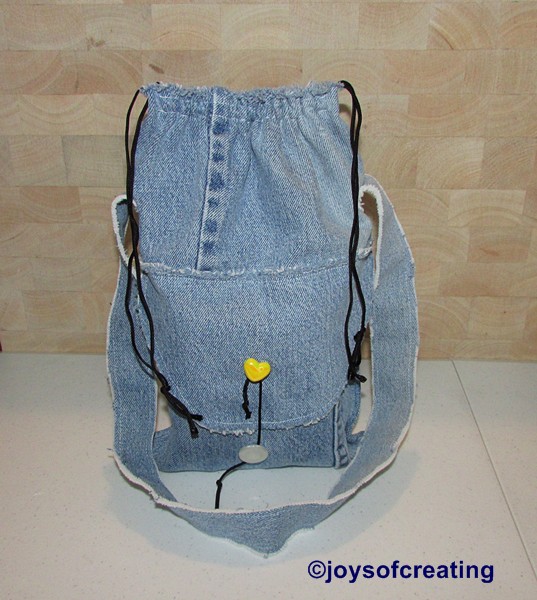 I needed a tote for my water that I carry to the garden, on walks or short trips away from the house. I wanted something simple that also had small pockets for keys and little things like that. I studied on it awhile and came up with a pattern using a pair of may husband’s old worn out blue jeans.