I’m making a bit more progress on my Classic Impressions Needlepoint that I started in 2020. I don’t know why I’m so slow on this project. I think it’s a pretty piece. I enjoy working on it, I just can’t stay motivated for too long of a stretch of time. 😊
 Now for the Secret of the Butterflies. The butterflies in the bouquet behind the needlepoint are really pretty in real life. As I was watering the bouquet the other day, I discovered that the butterflies are made of painted feathers. The body seems to be made with some kind of clay. They’re so cool!
I can imagine trying to make butterflies like this for many different crafts. Keyword is trying. lol
I thought it was such a clever idea that I’d share it here with you, in case you might want to gussy-up a craft with butterflies sometime.
The welcomed budding and blooming of the world waking up from its long winter’s nap has started big-time. As nice as that is, all the pollens and nonsense tend play havoc with our allergies. Might not be as bad if the wind would stop auditioning for the lead role of trying to prove it’s stronger than the Sun. lol
(Remember the fable: The North Wind and The Sun – Aesop Fables)
The warmth of Spring temperatures sporadically makes appearances. Except for nights, more than a few nights, we have to cover my flowers to keep them from freezing. I’m thankful that it won’t be too much longer until the night temperatures should even out and become pleasant.
Wishing you all the warmth of pleasant
Spring breezes with very few sneezes.
🌞

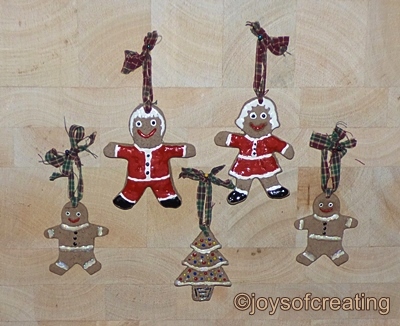
 Then I thought I should make gingerbread type ornaments just out of tradition. I didn’t do too good of a job on their faces, but they serve the purpose and used up the last of my dough.