As fun as growing older is, the part about not healing as quickly or as sufficiently as in my youth has me trying to be safer about avoiding illness and accidents especially avoiding falling. I had never crocheted myself a pair of house-slippers because I knew that they’d have a potential for slipping during a misstep and I’d go crashing down.
I came across a video showing how to skid proof crocheted house-shoes for children. Wow! I was instantly interested because the video’s method can be used on larger shoes as well. I could finally make myself a pair of of house-slippers to wear.
I made some adaptions to fit my. I chose to make a simple pair of house-slippers just to test it out and didn’t even bother with a pattern. I put Silicone on the Soles, let them dry/cure for 24 hours and then tested them out. I really liked them. The silicone works like a charm to keep me from slipping on the linoleum.
I’m going to add here, that the linoleum got super slick after my first few days of wearing my slippers. So if you use this method, be careful and pay attention to if your floors start getting slicker.
I think this method could be used on most any knitted, loom knit, crochet, felt, fabric or even socks.
A person could have a whole wardrobe of different kinds of non slip house shoes.
Here’s a sort of tutorial photo montage of how I made
My Crocheted Slippers that don’t Slip
-
-
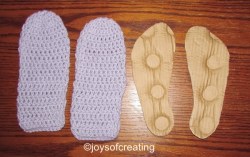
Make a cardboard cut out of the size of your foot
-
-
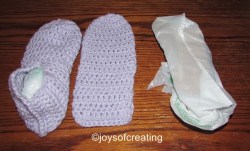
Cover the cut-outs in plastic. Stuff the covered cut-outs in the house-shoes
-

-
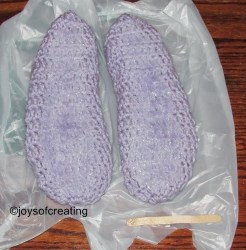
Turn the shoes over and Squeeze some silicone on the sole of the shoe. Use a popsicle stick to spread the silicone evenly on the sole.
-
-
Allow silicone to dry/cure for at least 24 hours.
-

-
Tah-Dah and now you have a pair of house-slippers that won’t slip
-

-
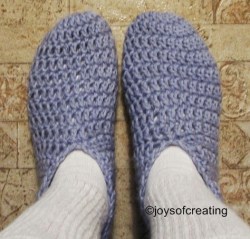
Here’s what the bottom of the non-slip slipper looks like on my foot
-
-
Here’s me wearing my slippers that don’t slip.
🙂
Reference:
Video: SILICONE SOLES, how to add non skid soles to knit and crochet slippers
Tutorial on a blog for felt house-shoes: Making Sippers Non-slip tutorial


 4-24-2014 I made a post “Shades of Purple“, in it I posted a photo of some purple yarn that I was planning on making a project out of.
 My next update on the yarn was 5-16-2014 in my post “Blackberry Winter & Misc” I posted a photo of a blanket I had started crocheting using the crazy crochet stitch. It was pretty, but I wasn’t happy with the blanket. I unraveled the yarn and balled it up and decided to wait until I found a pattern I liked.
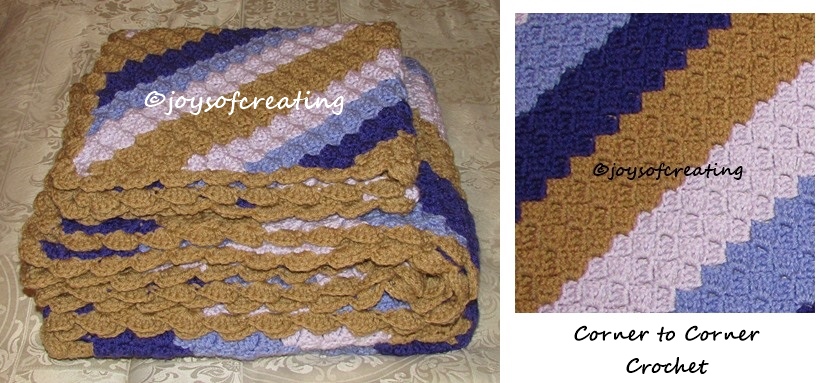 I found a pattern called corner-to-corner crochet on RedHeart.com. It’s basically the crazy crochet stitch only it’s diagonal. I absolutely love this stitch with my purple yarns and the way it worked up. It was fun to make too.
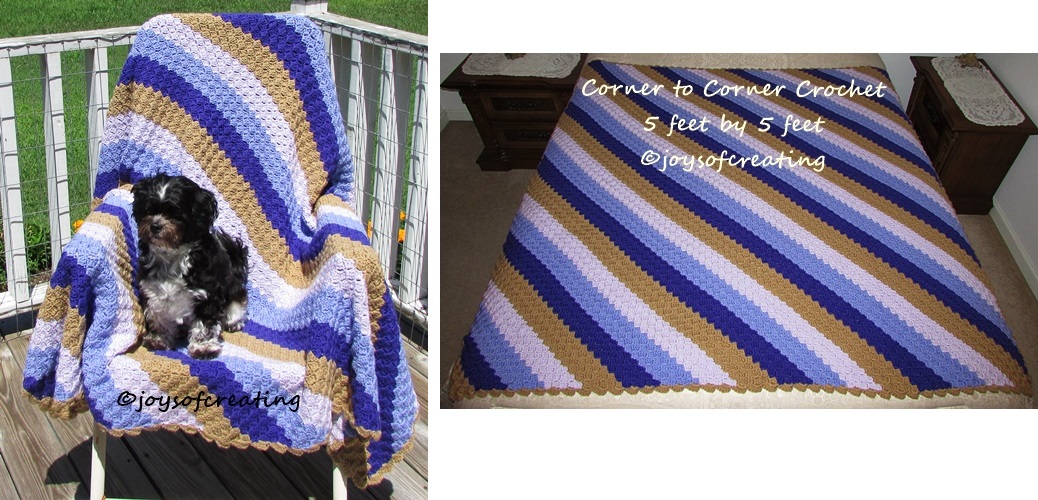
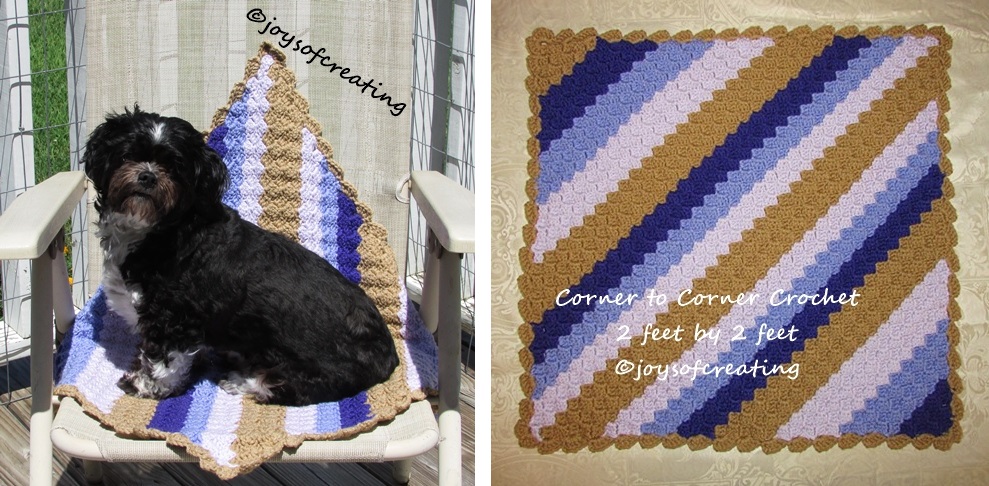 Before I washed and blocked the blankets, I took a couple photos of Shelibean posing with the them. Unfortunately, his dark eyes didn’t show up in the photos, but I think he looks fairly cute anyhow.
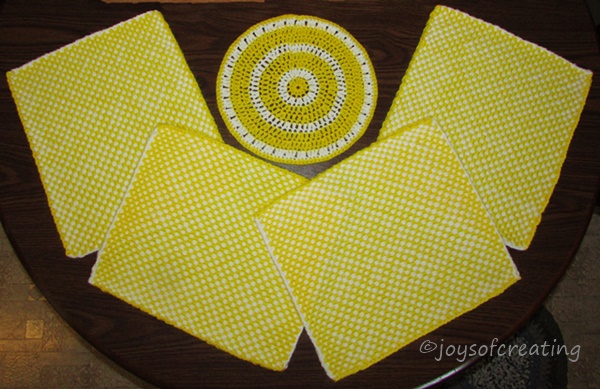


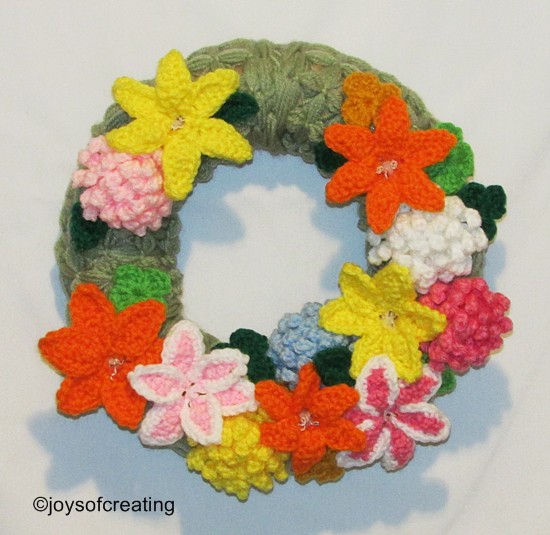 I made this mid-month wreath inspired by the summer flowers in bloom.