My sister has one of those handy dandy single smoothie blender thingies. Like a good little sister still following in her big sister’s footsteps, I wanted one too. I use my blender for smoothies. It’s a bit off-putting to have to wash the many parts for one little old smoothie. So, as I said, I wanted a single smoothie maker.
I went shopping around the internet and was quite dismayed by the prices of the better rated single smoothie makers. I was sad and thought that I’d just stick with my blender… ~sigh of dismay~ and then my little old gears began to turn in my mind and brought forth a memory…
Back in 2001, after a stroke, my Mom couldn’t eat solid foods anymore. My Brother was her primary caretaker and he figured out a way to puree several different foods and keep them on hand without having to clean a complete blender every time: he used mason jars instead of the blender’s pitcher container.
It’s such a clever idea, I asked him how he thought of it.
He told me that back in his younger days, he and his friends made daiquiris in mason jars.
I think it was wonderful he remembered it. I believe that God teaches us things to use later on in life, even when we’re not aware of it. I think the lesson of the mason jar and blender was meant to help during the time of his caring for our Mother.
Mom was certainly grateful for his knowledge and tender care in helping her to try and get better. I wish Mom was still with us. I think she would enjoy the smoothie craze. She loved making milkshakes for us young’uns and our Dad. Mom loved making new recipes, especially dessert type foods.
 .
.
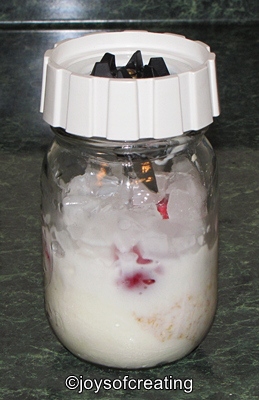
After remembering about the mason jar and blender idea, I got a pint mason jar, put some ingredients in it and happily made a single smoothie.
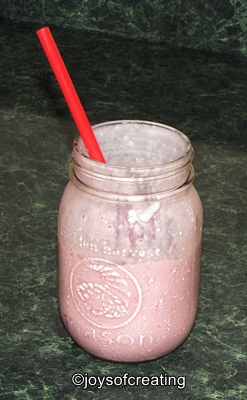
Goodness it was tasty and clean up was so much easier.
 Unfortunately, not all blenders are mason jar friendly. However, if your blender is one that can be used with a mason jar and if you decide to use this idea, some of my following suggestion might be helpful:
-follow blender manufacturers recommendation about ice or frozen ingredients.
-fill the jar only about 3/4 or less of-the-way full,
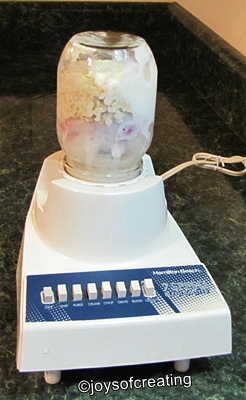
-make sure the blender collar fits the neck of the jar securely
-use quick ‘pulses’ until you’ve chopped up the crushed ice or/and frozen fruit and/or large chunks of foods. After it’s fairly well chopped up, blend it normally.
-now and then you may need to take the jar off the blender base, leave the blender collar/blades on the jar, shake the food down and then put the jar back on the base to blend some more.
-you can pour your smoothie in a glass or do like I do and drink it from the jar.
I’m glad I remembered the mason jar/blender idea. I use it for more than smoothies. It’s easy to chop nuts, bread crumbs, crackers or other things, put a ring/lid on the jar and save them for later.
Do you have a favorite blender recipe or helpful hint?
Wishing you a smooth rest of the week.
.

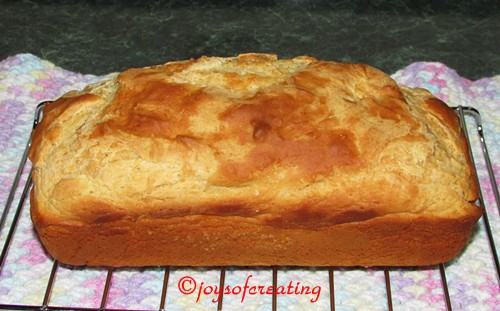
 During this past holiday, I decided to try drinking some boiled custard. I hadn’t had any since I was a child and I forgot what it taste like. The custard was quite nice and had the taste of melted ice cream.
 I thought about the boiled custard. Since it tasted like melted ice cream, I figured it might be good to cook something with. The only melted ice cream recipe I recalled was for bread.


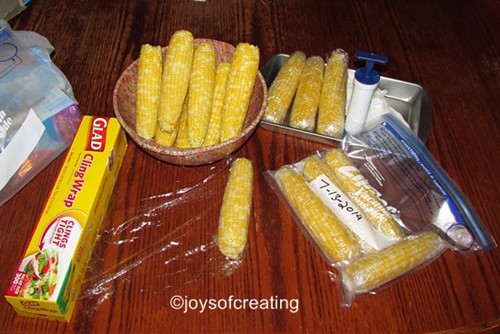
 We had sort of a corny weekend with gardening. We harvested a lot of produce.
 Some of the potatoes are huge.
 The onions are drying on a table on the back-porch, and the potatoes are drying on garbage bags in my craft room.
 It may not look like a lot of potatoes, but it’s more than plenty for us. After the potatoes dry a couple weeks or more we’ll put them in mesh bags and stack them somewhere… and then I’ll have my floor back. lol
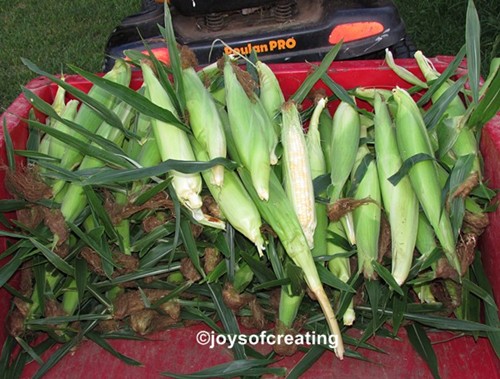
 We used the normal method of shucking to prepare our corn for freezing. We’re happy we had about a bushel of corn. We put up 26 bags of corn-off-the-cob.

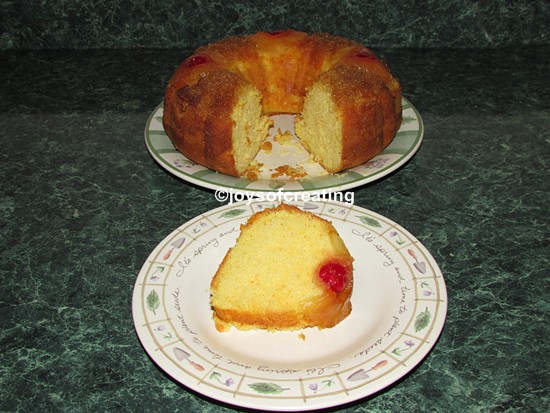 PineApple Upside-Down Bundt Cake