
I had to take down and store my small greenhouse. We had it anchored inside with some heavy concrete blocks. Unfortunately, the greenhouse had no way to anchor it on the outside. The wind proved to be mightier than the anchor blocks and toppled it over.
I’m fortunate that the only plants in it was the lettuce and chard. They were bounced around but didn’t get broken or smashed. They’re living happily in our garden now.
 I had been planning to replace my small greenhouse with a larger greenhouse with more shelves. I had a new one ordered and was waiting for it to arrive, so it was kind of a help the wind toppling my small one.
We had fun putting the new one together. There’s nothing much more amusing than two old folks figuring out directions on how to assemble a project. lol
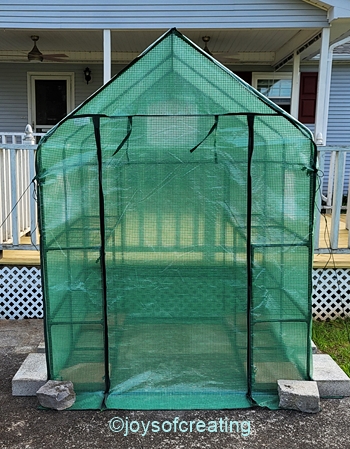
 The new greenhouse has anchors on each outer corner to tie it down. We’re using concrete blocks on the lowest shelves and around the bottom edge of the cover as extra anchor weight.
I guess I should add in here that meaning of the red ribbons on the tie-downs is that a ‘clumsy old lady owns the greenhouse’ and needs the ribbons to highlight the tie-downs, (so I won’t trip over them whilst going to open/close the windows. lol)
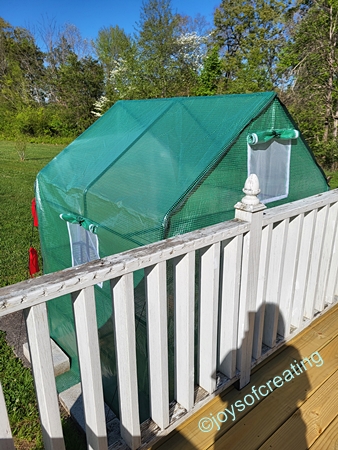 The new greenhouse has 3 windows with hook & loop tape flap closures. You can see them in the different pictures. The windows are blessing to circulate fresh air when needed.
The 3 windows were a defining factor in my choosing this green mesh greenhouse. Also, the green mesh cover will hopefully help to shade me a bit more than the clear cover would. It might protect the plants by shading them a bit more from the hot rays of the sun.
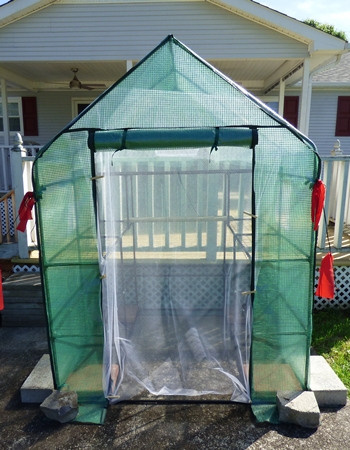 When I’m going to be in the greenhouse any length of time, I have to have the main door flap open. It presents a problem because of wasps and bugs. I’ve pretty much solved that problem by hanging a curtain I fashioned out of netting. The netting also helps keep more air circulating too.
 I’ve got a few trays of seeds planted and hopefully they’ll begin to grow soon.
Wishing you all good things this Spring.
 ~*~
~*~ I put netting over the pot to keep the bugs out. Our nights are quite cool now and since the babies don’t have the same protection around them, I bring them in at night and set them outside during the day.
 Hopefully they’ll continue to thrive and I’ll have fresh basil for a while.
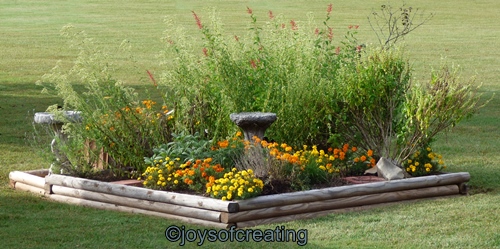

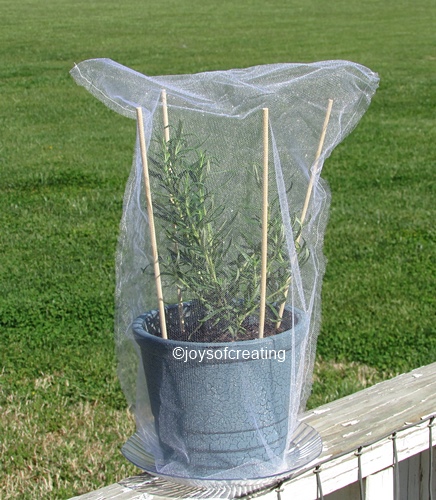
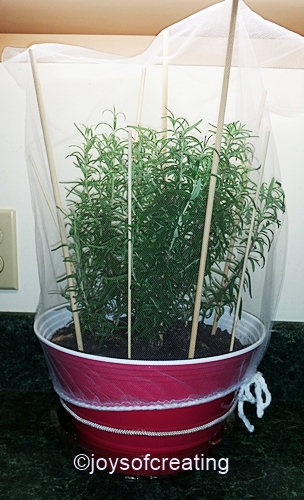 I put the netting back on my rosemary a couple weeks ago. I’ve kept it trimmed and it’s grown thick and pretty. So far there hasn’t been any critters appear on it. I’m going to keep the netting on it for a quite a while just to be sure.
 Since my basil is in 5 gallon buckets and way too large to bring in the house, A month ago, I started a few basil plant from cuttings. I want to try and grow basil indoors during the winter. The basil rooted really easily in about a week. When I transplanted them, I made nettings for their pots and kept them covered.
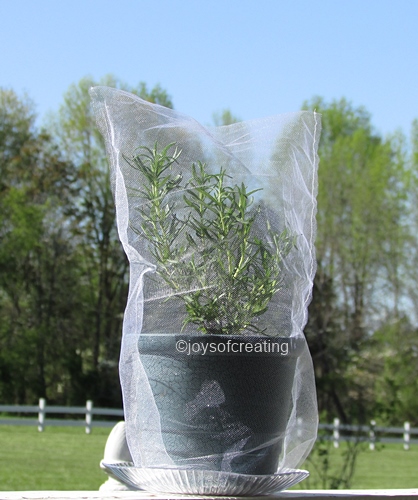 My husband and I have been busy shopping for garden plants. We decided to keep it fairly simple this year. A few tomato plants and
 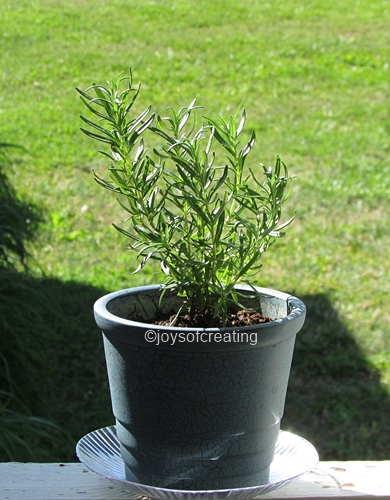 I agreed, but I chose to buy a potted rosemary plant in the produce department of our local grocery store so I wouldn’t have to worry about hidden bugs that might get loose in my kitchen. The directions on it’s packaging said to set the potted rosemary in a sunny window. My kitchen doesn’t have a very sunny window, so I decided to it needs to spend days on the back porch. The pot it was in was quite small so I re-potted it in a little blue pot that my son gave me many years ago.
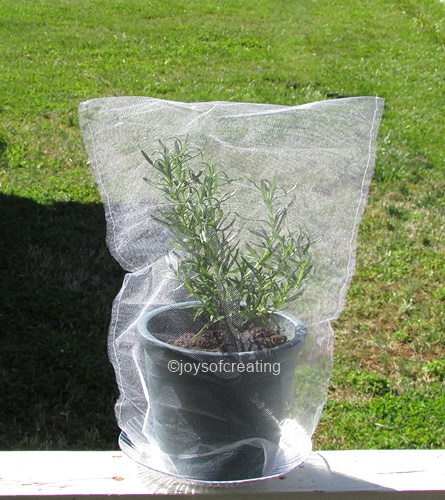 I wanted to set the rosemary outside, but once again I ran into the same bug

 Normally when I start posting about our squash harvest, I would begin with recipes, but this time I’ve decided to start with a bit of fun with my squash.
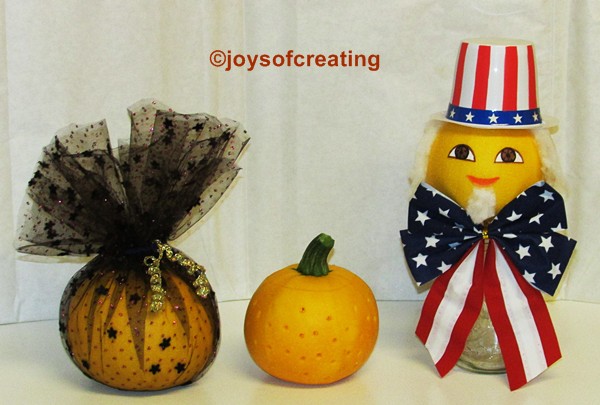
 A bit of netting wrapped around a squash and a bit of shiny ribbon makes the squash a bit fancy or a bit slutty. I haven’t decided yet. lol
 In honor of 4th of July coming soon, I set a squash on a mason jar and dressed it as an Uncle Sam character. I drew his eyes and mouth on sticker paper so i could remove them easily from the squash. I put a hat on it and then put a bit of polyfil under each side of the hat for sideburns. I glued some polyfil to a piece of sticker paper and then stuck it on the squash for a beard. The patriotic bow pulls it all together nicely, I think.
 I thought I’d go ahead and waste a squash since I have so many. I made a light out of it. It looks really pretty in real life. I cut out the top of the squash to use as a cap for it. I hollowed out the squash and drilled holes in it. I put a piece of plastic on the inside on the bottom so the moisture won’t get in the tea light and short it out. I then put a battery operated tea light in the squash and put the cap on it. It looks charming.
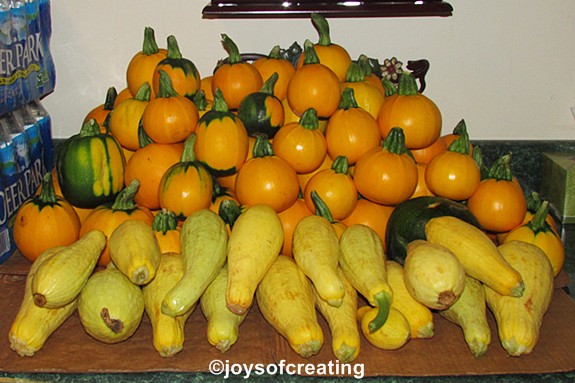 We’ve already given the neighbors so much they won’t take anymore. lol It’s been a good year for squash so far. Sadly, It could end any day because of weather or pests. So, I’m enjoying them while I can.


