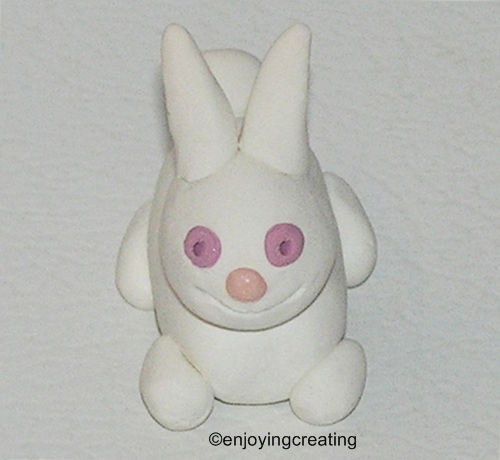
For my Wreath of the Month for May, I decided not to do traditional flowers and fluff for this special month, I decided to give tribute to the creative side of Motherhood. Mom’s are the most creative people I know and I’m not talking just crafts either. As I’m the only Mom in this house, I chose some of my favorite stuff to put on my May wreath.
I sculpted the loom & loom hook and then made the little red toboggan on the loom (just to see if I could.)
My sister sort of stepped in the role of Mom after our Mother passed on. She’s spent alot of time and care on me and my family. She’s my Bff and responsible for introducing me to the addictive and enjoyable craft of looming.
I sculpted the crochet hook and it does work, but it’s close to an ‘I’ size, so I crocheted the little granny square with a metal size ‘G’ hook. The size ‘G’ hook was my Mom’s. I think of her every time I use it. I’m thankful she gifted me with the love of crochet.

click to read big size
.
I made the cell phone with plastic canvas. I hope it looks like a bit of Excessive Crafting like I really made a plastic canvas case for a cell phone. lol
I made the texting with my image program. The text advice is something I’ve shared many times with my family. Crafting to calm down is a pleasant and enjoyable way to relax.
My Bff has on more than one occasion echoed these words back at me when I get stressed.
.
.
I sculpted the spoon and fork in honor of all the meals and cooking that goes into raising a family. (and also for us old folks after the little birdies have left the nest.)
My embroidered red-work heart is for sewing. It makes me smile remembering all the buttons, costumes, clothes, toys and stuff that I’ve mended or made over the years. I’m so thankful that my Mom gifted me with the skill of sewing. She spent many an hour and many a day happily sewing away on apparel or quilts or toys. She was an amazing lady.
I think my mason jar ring worked out nicely for a frame for my embroidered heart.
I crocheted the 3 daisies awhile back, but I wasn’t sure what I wanted to use them on. I needed another something for the wreath and happily they fit okay.
Plus my Mom never met a flower that she didn’t like and pretty much I’m the same way. Gardening is a wonderful gift she passed on to me too.
The wreath base is made of newspaper and covered in knitted yarn blocks made on a cardboard loom.
I’m sorry I’m running so late on posting this. I’ve had a bit of a goofy week and can’t seem to get organized.
Wishing you all a Happy May!

~*~
Here’s why I’m making a ‘Wreath of the Month’ for every month of 2014.
~*~