I call it ‘Spring Bounty’
Wishing you all a bountiful Monday!
.

I call it ‘Spring Bounty’
Wishing you all a bountiful Monday!
.
I was in search of a project to do and went looking through my idea files. I came across this flower pen picture my Bff had sent me some years ago.
The flower pen is made of silk flower/leaves, floral tape, ink pen, clay pot, some filler and what appears to be a grassy filler. It seemed an easy craft, but I didn’t have any floral tape nor a small clay pot. I thought about it for a second and realized that I could use polymer clay to wrap the pen in and sculpt a clay pot and stone fillers.
It was fun to make. My clay pot isn’t perfect and neither is the clay wrapped pen, but I think it turned out okay for my first ever flower pen. I was going to put some green raffia over the top of my sculpted stones for fake grass, but I liked the look of the stones and decided not to cover them up.
What do you think?
Should I cover the stones or leave them bare?
Happy Crafting!
.
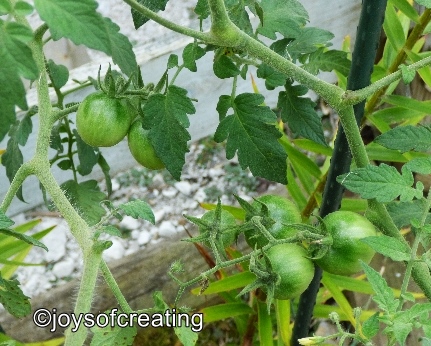 Late in the gardening season, I noticed one lone little volunteer tomato plant growing in amongst my tiger lilies. I decided to let it grow. It’s a tall leggy vine and only started branching out when it grew as tall as the lilies. It had a few blooms, but never developed tomatoes until a couple weeks ago. Now it has about a dozen cherry tomatoes on it.
I figured the vine would die with the nights of cool weather, but so far it hasn’t.
If our first hard frost holds off until late in the month, it’s possible we’ll get a few fresh cherry tomatoes. They would be a mighty tasty treat.
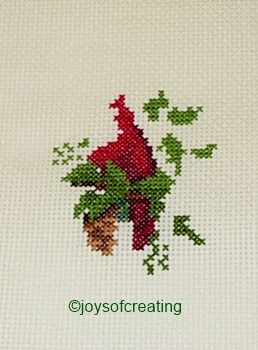 I haven’t progressed very much on my cross stitch. All the changing of the many colors of threads on the needle has slowed me down and made cross stitching not-so-enjoyable.
I thought about how to make my needlecraft more enjoyable and go smoother with less needle threading work..
 and then it came to me, have several colors threaded on other needles ready for the color changes.
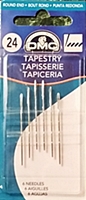
Cool idea, but I didn’t have any extra embroidery needles so I had to wait until I went shopping to buy some.
I bought a 6 pack of embroidery needles. The low price was a nice surprise.
I haven’t had a chance to load my new needles up and work on my cross stitch. I plan to soon.
I’m happy that I might actually finish my cross stitch before the holidays and have it ready to display with my other decor.
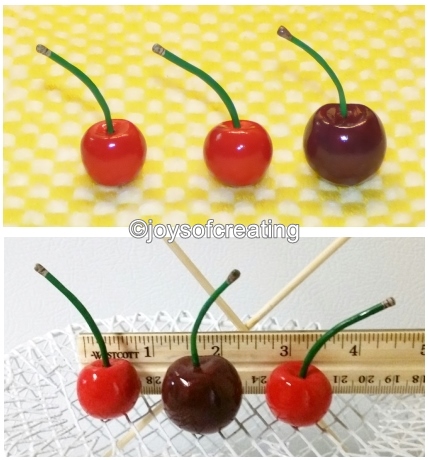 I’ve done a small bit of polymer clay sculpting recently. I sculpted 3 cherries of 2 different varieties. They turned out really pretty.
Did you have any late season gardening surprises?
Have you been doing any crafting for the holidays?
Have a great day!
.
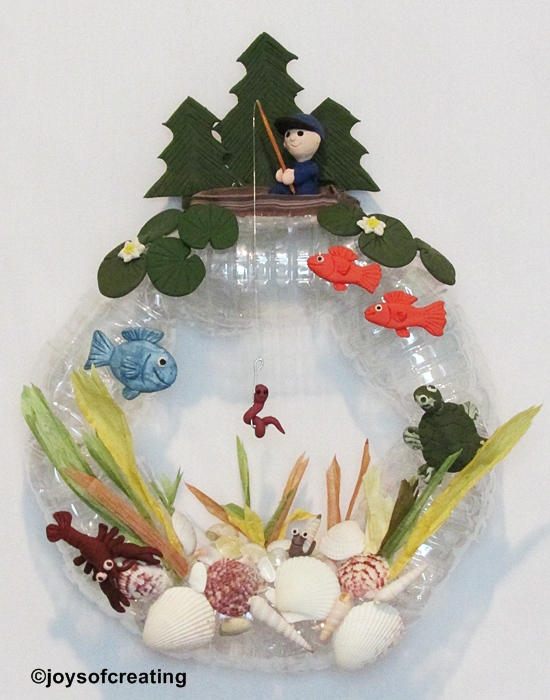 My June ‘2014 Wreath of the Month’ is my most favorite wreath that I’ve ever made.
 *I made the wreath base out of empty water bottles.
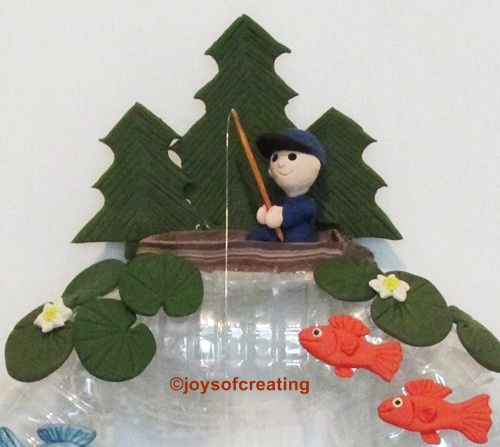
*I sculpted the critters, trees, lily-pads,
boat & fisherman out of polymer clay.
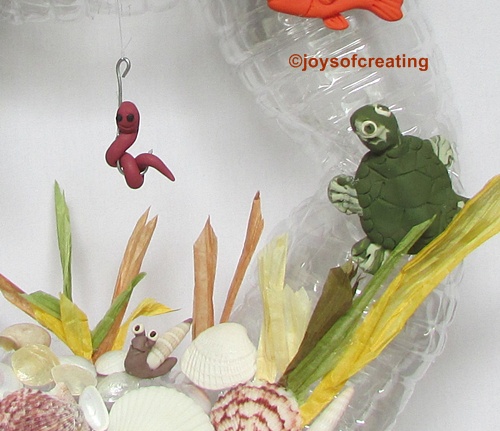
*I made a hook out of wire and sculpted a little worm for it.
I used fishing line and hung the worm on the hook
from the fishing pole that I made out of a toothpick.
 I used some shells which my late Grandma in-law gave to me.
I added a bit of salvaged paper raffia for sea-weed.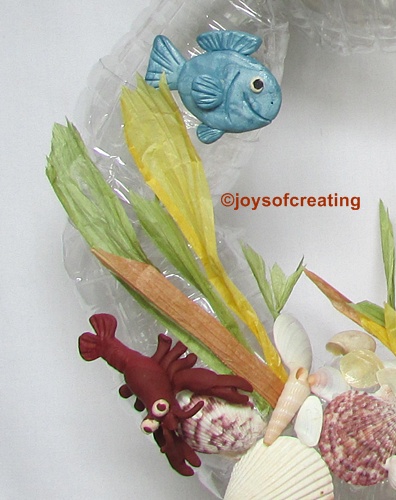
I had the best time creating, sculpting and decorating this wreath.
It’s a fun wreath and has gotten many compliments.
The men and boys in my family especially like it.
Fishing has always been a big part of my family.
A fishing trip would be an enjoyable way to celebrate Father’s day.


~*~
Here’s why I’m making a ‘Wreath of the Month’ for every month of 2014.
~*~
Here’s a photo of the way I made the wreath base out of empty plastic water bottles.
I used shipping tape to hold them together
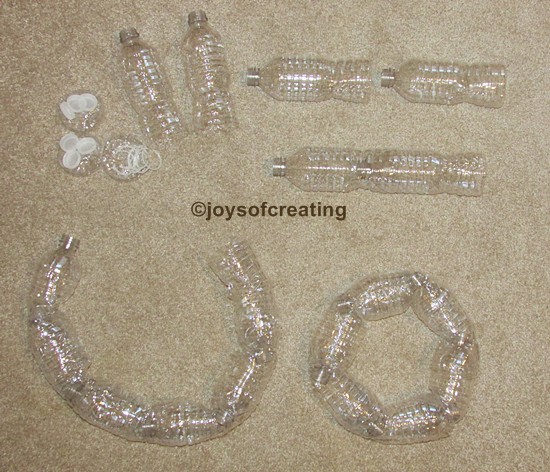
🙂

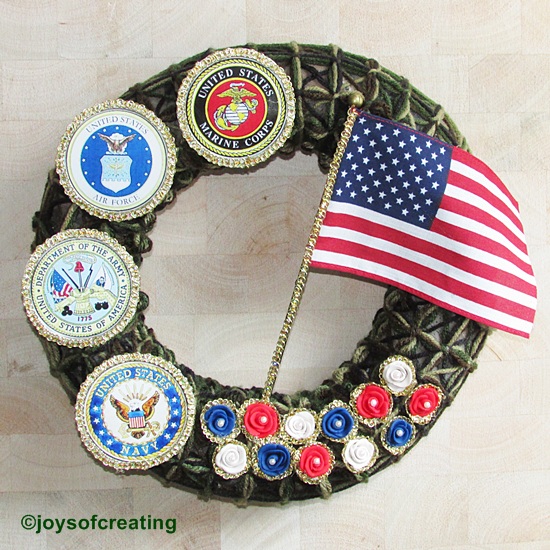 I made this wreath in honor of our Military for Memorial Day.
It’s a small but sincere effort on my part to show my appreciation to the troops past & present and their families for all they’ve given and still give for us. Their sacrifices are great.
Using polymer clay, I sculpted one rose for each month of the year and the pearl centers are for the tears shed for the troops continual sacrifices 12 months a year.

The wreath base is made from newspapers and covered in camouflage fabric. I covered the base with blocks made on a cardboard loom using camouflage yarn.
~*~
Here’s why I’m making a ‘Wreath of the Month’ for every month of 2014.
~*~

