 Through happenstance
 or what a person might call surfing pinterest, I came upon a needle-craft called Needle Punch Embroidery. 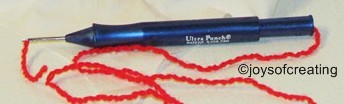 You use a special-made punch needle that feeds the thread/yarn through the fabric and leaves a loop. When you’ve done several stitches, it resembles carpet. I don’t recall seeing or hearing of it before. Needle Punch embroidery seemed like something that I might be able to learn in short span of time and would probably enjoy doing. Plus, I always like to learn a new craft.
I surfed for awhile in various online craft stores and after a day of thinking about it, I finally ordered a punch embroidery kit and a set of punch needles.
When my order come in, I was dismayed to discovered that I hadn’t ordered the right size punch needles to do the kit with. I went back online and ordered the right size puncher and it should be here in the next couple days.
*I know puncher isn’t what folks call the punch needle, but it’s easier than typing out ‘punch needle’ every time. 😉
Anyway…
I was not to be deterred from trying the punch embroidery.
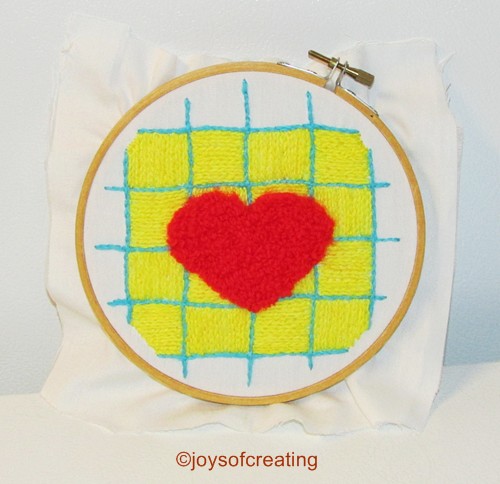
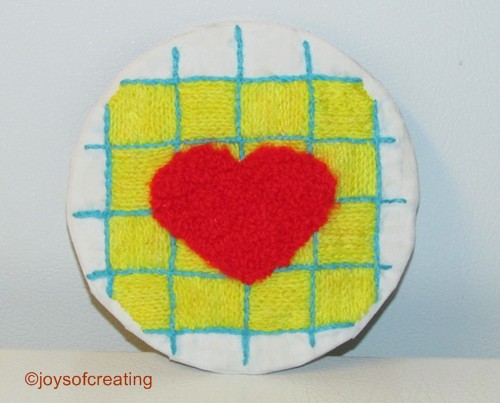
I improvised. I got some white cotton fabric, put it in a hoop,
drew a heart in the middle
and began learning to use a puncher.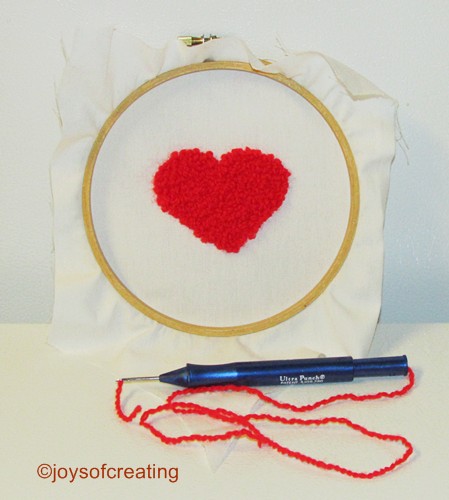 I think my heart turned out fairly well.
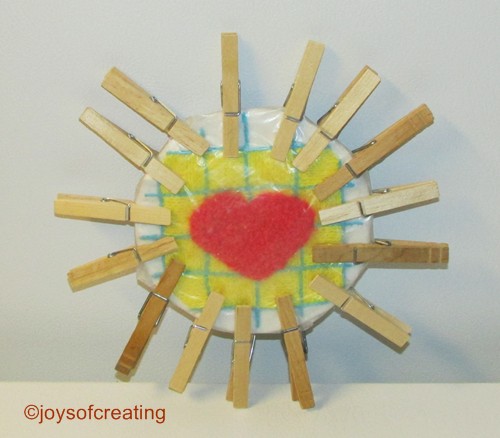
I immediately put silicon on the back of the heart and
let it dry for a few hours so the yarn wouldn’t pull out.
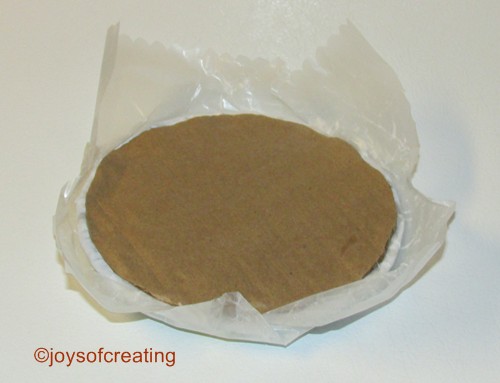
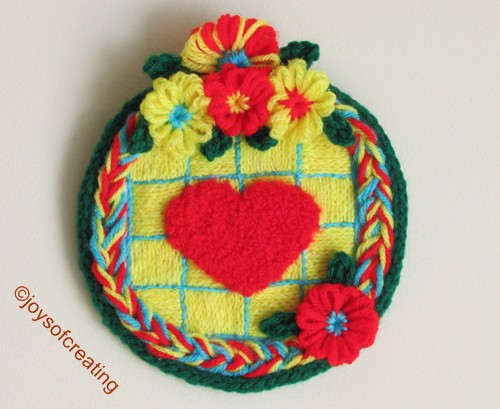
I decided to go a bit further with my punch heart piece and do regular needle embroidery around it. After I finished the embroidery, I couldn’t just stop with mounting it on cardboard. It looked so plain. I made a crochet chain and glued it around the edge and then made some loom flowers and put on it. I hung my heart-work on the wall. It was okay, but still had the look of an unfinished thought.
I left it hanging and went about my day. Every now and then I look at it and think it needs something else.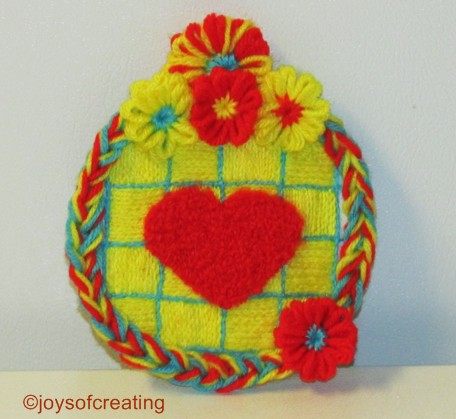
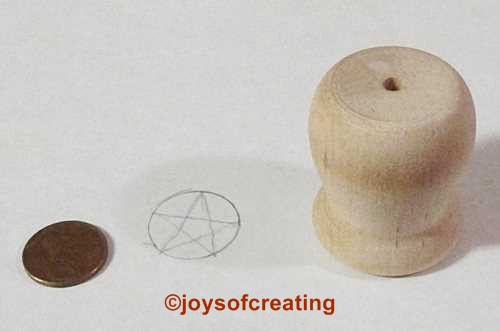
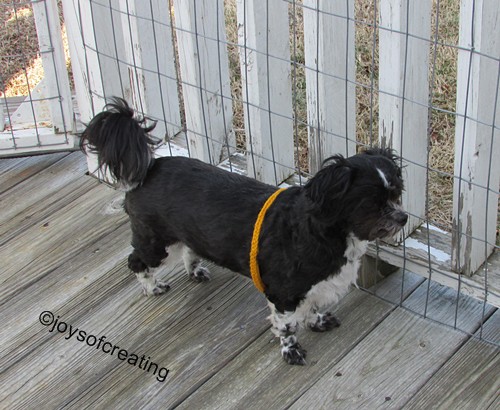 Shelibean has been playing with the test cords I’ve been knitting on my beanpot loom. I watched him prancing around with a gold one wrapped around his belly and it occurred to me that perhaps, I could use a loomed cord to outline my heart-work. Sheli must’ve read my thoughts because he suddenly pounced on my feet with a green loom cord in his mouth.
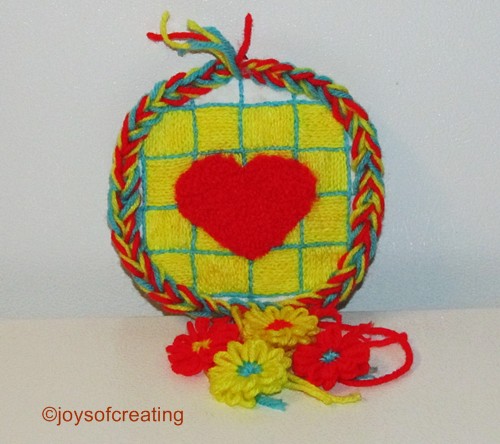
I took the green cord and glued it around the heart-work and it looked good, but still the piece needed something… mmm.. of course, leaves for the flowers. I crocheted the leaves and glued them on and finally my piece of heart-work was finished.
I’m really pleased with the finished piece.It has so many textures. I enjoyed using alot of different techniques in creating it.
needle punch embroidery
regular embroidery
flower loom
crochet
knitting cord loom
And it only about 7 inches tall.
Unfortunately I’m not sure how these photos look. I’m running a msert file on our desktop and can’t use it to edit the photos. I used my laptop to edit them… so they might be a bit yucky. Later on when I can check my blog on our desktop, if these photos look too yucky, I’ll upload new ones.
Have you ever tired Needle Punch Embroidery?
Do you enjoy learning to do new crafts?
I wish you all a warm week of sunshine.
🙂


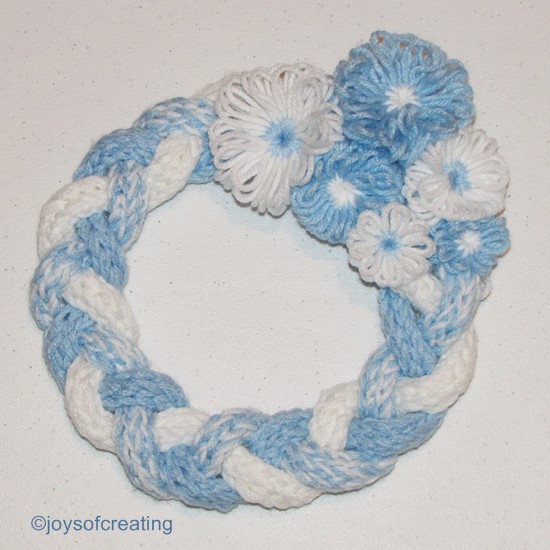
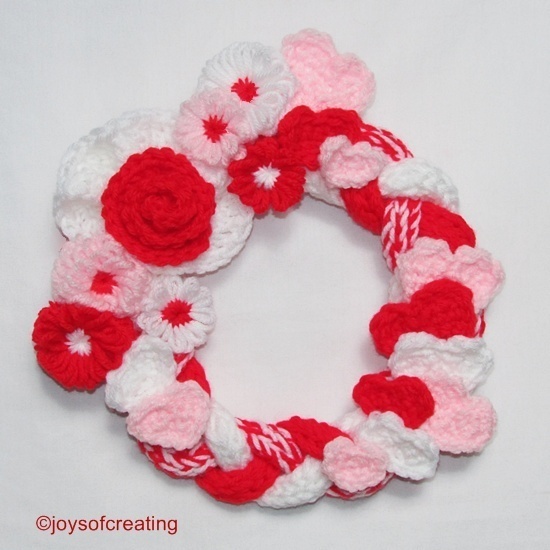 My ‘Wreath of the Month‘ for February,
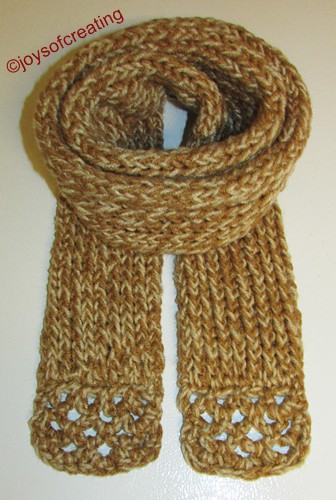 This my new tube scarf that I’ve been working on for the past couple of days. I finished it last night.


 My blogging buddy
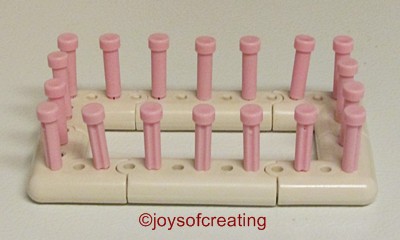
  Several of my wreaths will be made using these looms. I really enjoy making the cords as time fillers and the flowers are just fun to make.
 Thank you Charlotte for being my inspiration.