 Here’s a few things that I’ve found to be helpful.

 In my opinion, most zippers are a bit pricey. I don’t mind so much if I’m buying a specific zipper to match fabric to make a piece of clothing, special projects or home decor type stuff, however, there’s some craft projects that need a zipper and I’d rather not sink a lot of money in them. After thinking about the problem awhile, I figured out an inexpensive way to buy zippers . I buy the really cheap zipper bags and take the zippers out of them. When I want to use the zippers, I can cut them to whatever length I need. The bags in the photo were a dollar each. The smaller one has 2 in it, so I got two 16 inch zippers for a dollar. The other 2 bags are of really long and extra long lengths, I don’t know their exact lengths, I haven’t disassembled the bags yet to measure them. These zippers probably won’t last in a heavy duty project like jeans or sleeping bags… and then again I could be wrong and they might hold up well. This is a relatively new idea of mine and I haven’t used them yet. But even so, I think it’s a good idea anyway. (as for the plastic part of the bags, I fold it neatly and store it away because I hope to find some uses for it too someday)
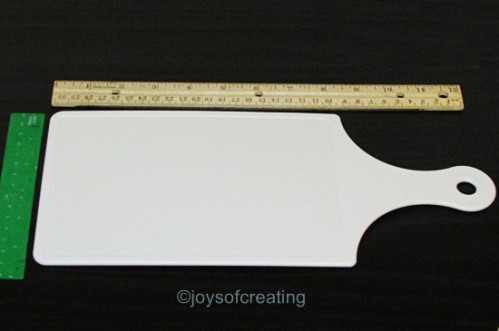 Here’s an idea for an inexpensive and small heavy duty hand-fan (duel duty if you want). It’s a small cutting board. lol I discovered what a great fan it made, when a hot-flash hit and it was the smallest lightest weight thing in my reach that I could use to wave in the air and help cool me off. lol Seriously, though, you can’t tell it from the photo, but it’s not very big. The handle is a nice advantage; it’s light weight enough to tote around the house or take outside or most anywhere.
 I bought these ‘Incredible Hooks’ at a dollar store. You may have seen commercials for hooks like them. You may have wondered if they’re as easy to use and handy as the commercials say. I’m here to tell you that they most definitely work for me in drywall (Sheetrock). I love the ease of putting them where I want and removing them if I want too. I was truly surprised these work. These are great. There’s 20 in the pack and I haven’t needed to buy anymore, but I won’t hesitate to buy more if/when I run out.
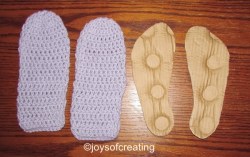
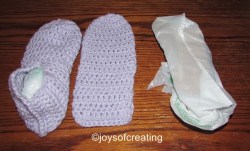
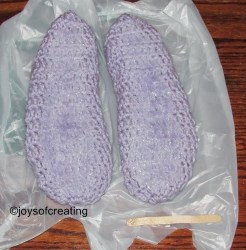
 I usually have several projects going at the same time. I find it’s handy to keep them in 2 gallon Ziploc bags with their supplies. This makes them easy to pick up and take with me to work on them most anywhere. I use much bigger plastic bags for my crochet blanket projects. Keeping the projects in plastic bags helps keep them cleaner too.
I hope one of these ideas may be helpful to you or may spark an idea for you to build on.
Wishing you all a great rest of the week!
🙂


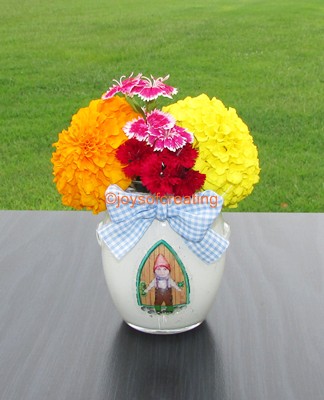
 I used Mod-Podge Outdoor Exterior Glue to glue the photo on the inside of the jar.


 Normally when I start posting about our squash harvest, I would begin with recipes, but this time I’ve decided to start with a bit of fun with my squash.
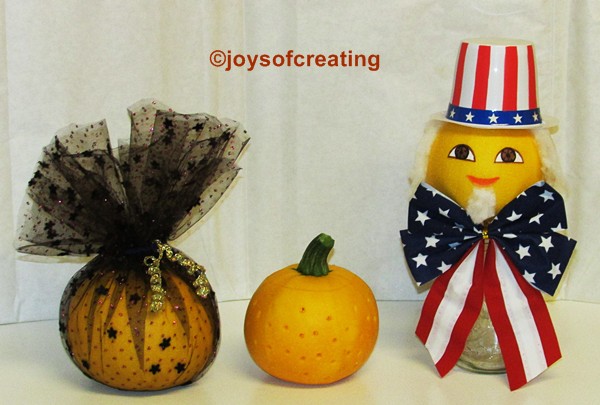
 A bit of netting wrapped around a squash and a bit of shiny ribbon makes the squash a bit fancy or a bit slutty. I haven’t decided yet. lol
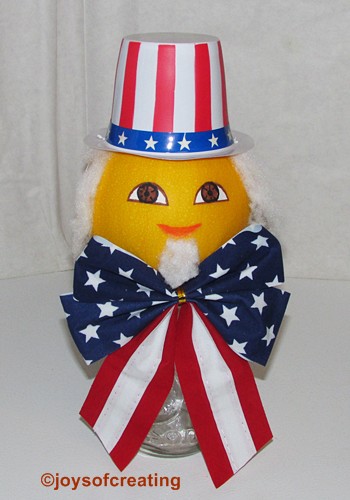 In honor of 4th of July coming soon, I set a squash on a mason jar and dressed it as an Uncle Sam character. I drew his eyes and mouth on sticker paper so i could remove them easily from the squash. I put a hat on it and then put a bit of polyfil under each side of the hat for sideburns. I glued some polyfil to a piece of sticker paper and then stuck it on the squash for a beard. The patriotic bow pulls it all together nicely, I think.
 I thought I’d go ahead and waste a squash since I have so many. I made a light out of it. It looks really pretty in real life. I cut out the top of the squash to use as a cap for it. I hollowed out the squash and drilled holes in it. I put a piece of plastic on the inside on the bottom so the moisture won’t get in the tea light and short it out. I then put a battery operated tea light in the squash and put the cap on it. It looks charming.
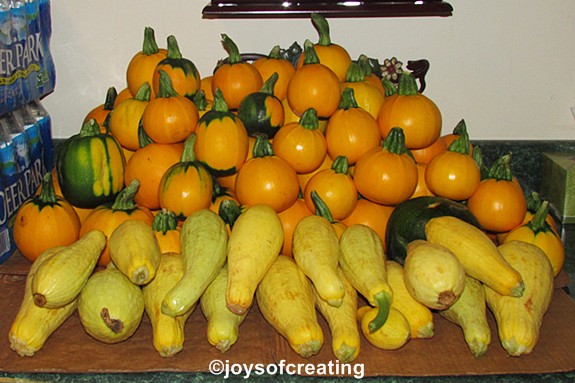 We’ve already given the neighbors so much they won’t take anymore. lol It’s been a good year for squash so far. Sadly, It could end any day because of weather or pests. So, I’m enjoying them while I can.


