Several years ago I tried different methods of freezing squash. The truth is, squash has issues with freezing. I found the ‘blanching’ method makes it get real squishy real quick if you ain’t careful. I tried different lengths of time of blanching with different thicknesses of slices, but I wasn’t happy with any of the results. When I tried to use the frozen blanched squash, it was way too squishy regardless of how I cooked it.
So, I tried an ‘unblanched’ method. It took me few tries and adjustments and I finally came up with method that’s okay. I like it better than any other method and I thought I’d share it with you.
*I wash the squash and core it.
*I cut it up in chunks or thick slices.
(To me the thicker pieces seems to hold their form better when thawed/cooked. Frozen squash isn’t firm like fresh squash when it’s thawed or cooked. After it’s it’s thawed or cooked Unblanched frozen squash is flimsy or soft, but it’s better than squishy blanched squash.)
*I spread the pieces out in a single layer on a piece of card board covered with freezer paper.
*I put the board of pieces in the freezer for a couple hours until the chunks/slices are frozen solid. This is called flash-freezing.
*I write the date on a Ziploc vacuum bag and fill it with the frozen squash pieces. I seal the bag and put it in the freezer.
*I usually put the frozen squash pieces in a gallon size bag.
*When I want to use the squash, I take the amount of squash I need out of the bag, then seal the bag back up and put it back in the freezer.
🙂
The photo below is of a rather huge and curious squash plant that’s producing two colors of squash: a yellow/orange 1 ball and a sort of a orange & green 8 ball squash. I’m guessing this plant is a product of cross-pollination. That happens from time-to-time. As a matter-of-fact, it was a cross-pollinated squash that sparked my obsession interest in squash. I’m planning on ‘trying’ to save some seed from this plant to see what it produces next year. It gives me something to look forward too and now you get to look forward to it too. 😉
This is all for me at the moment. I need to go and freeze some more squash. I just remembered another method that my Mom used when freeze squash. I may try it and if it works, I’ll make a post about it.


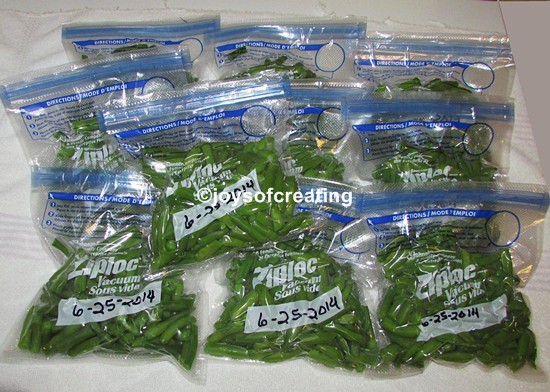 T’is the season to began storing food for the winter. I’m happy that we got 10 packages of green beans packaged and put in the freezer. That’s a lot of good eats. 😉

 Normally when I start posting about our squash harvest, I would begin with recipes, but this time I’ve decided to start with a bit of fun with my squash.
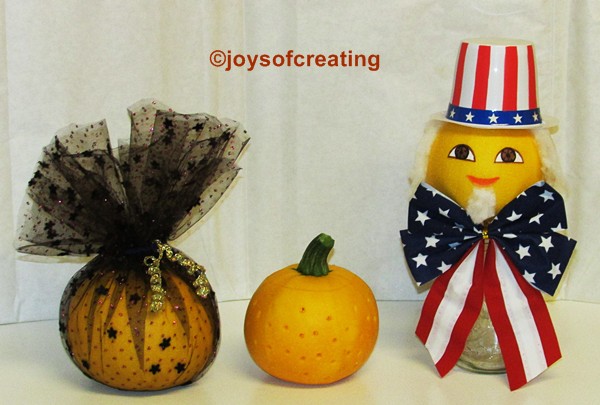
 A bit of netting wrapped around a squash and a bit of shiny ribbon makes the squash a bit fancy or a bit slutty. I haven’t decided yet. lol
 In honor of 4th of July coming soon, I set a squash on a mason jar and dressed it as an Uncle Sam character. I drew his eyes and mouth on sticker paper so i could remove them easily from the squash. I put a hat on it and then put a bit of polyfil under each side of the hat for sideburns. I glued some polyfil to a piece of sticker paper and then stuck it on the squash for a beard. The patriotic bow pulls it all together nicely, I think.
 I thought I’d go ahead and waste a squash since I have so many. I made a light out of it. It looks really pretty in real life. I cut out the top of the squash to use as a cap for it. I hollowed out the squash and drilled holes in it. I put a piece of plastic on the inside on the bottom so the moisture won’t get in the tea light and short it out. I then put a battery operated tea light in the squash and put the cap on it. It looks charming.
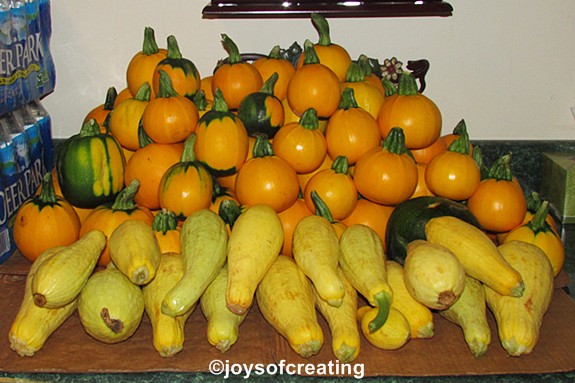 We’ve already given the neighbors so much they won’t take anymore. lol It’s been a good year for squash so far. Sadly, It could end any day because of weather or pests. So, I’m enjoying them while I can.


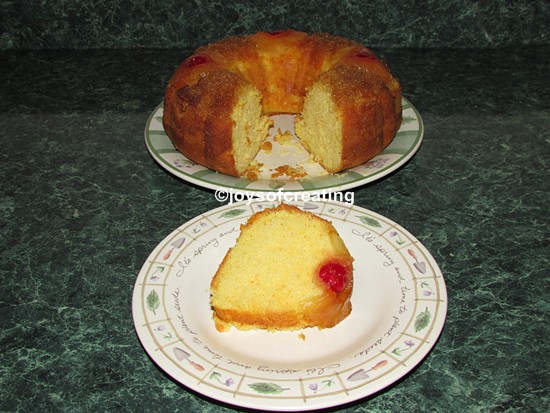 PineApple Upside-Down Bundt Cake


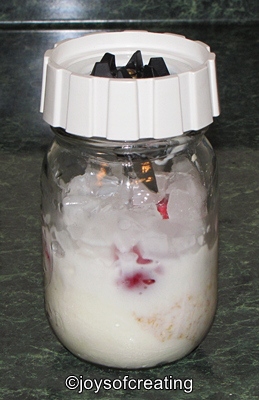
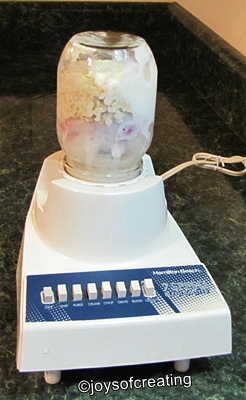
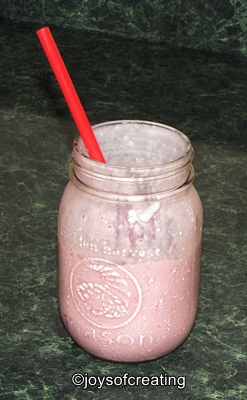
 My sister has one of those handy dandy single smoothie blender thingies. Like a good little sister still following in her big sister’s footsteps, I wanted one too. I use my blender for smoothies. It’s a bit off-putting to have to wash the many parts for one little old smoothie. So, as I said, I wanted a single smoothie maker.
 .
. Unfortunately, not all blenders are mason jar friendly. However, if your blender is one that can be used with a mason jar and if you decide to use this idea, some of my following suggestion might be helpful: