
 My husband really likes the way I’ve decorated the lanterns he gave me. I’m quite happy with the way they turned out.
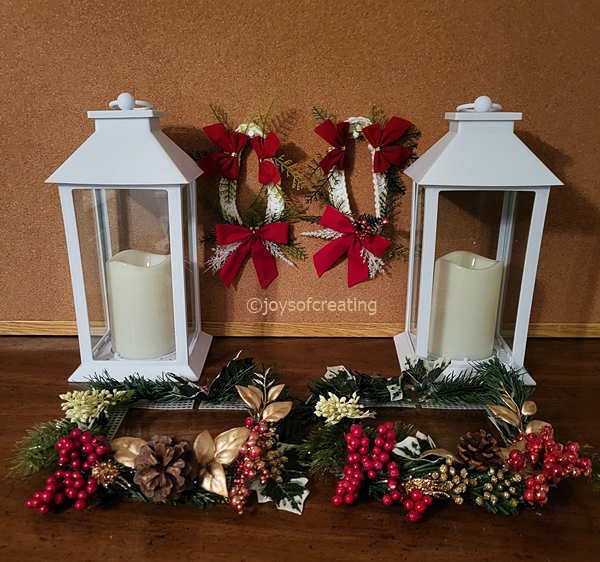 These lanterns are special to me. It took me awhile to figure out how to decorate them without permantly changing the lantern body. I’m happy with the way I figured it out.
For the lower part, I took some plastic canvas and cut it large enough to fit like a collar on the lamps. I sat it on a piece of parchment paper to protect my table. I cut up a few inexpensive flower bouquets and hot glued them around the plastic canvas.
For the top, I crocheted a collar and hot glued some greenerery and bows on them.
Both of these decoration accessories are removable from the lanterns.
 I had a fun day of designing and creating these decorations for my lanterns.
I’m probably going to make other decoration accessories for the lantern for other special times of the year. I think it’d be fun.
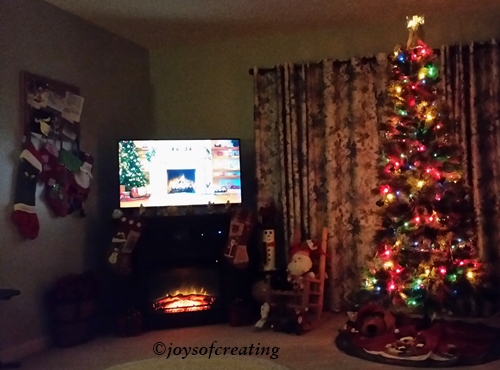
Wishing you all happy holiday crafting!


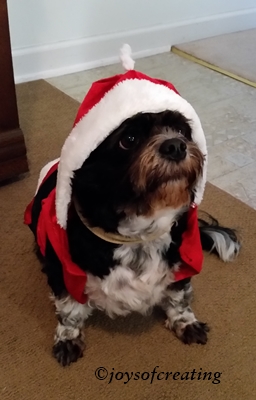

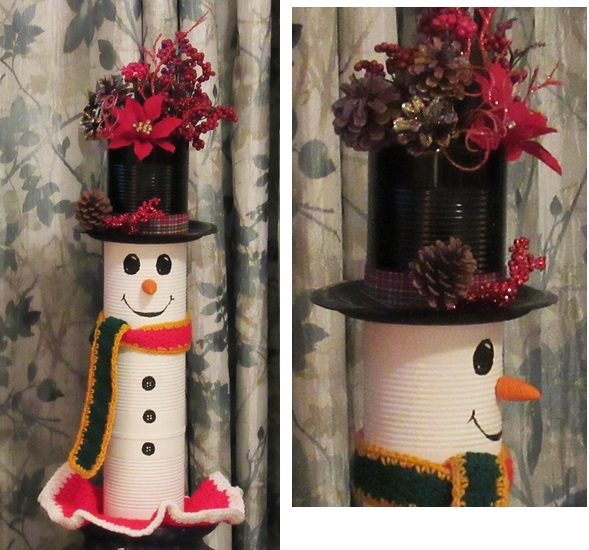 I absolutely adore this guy.
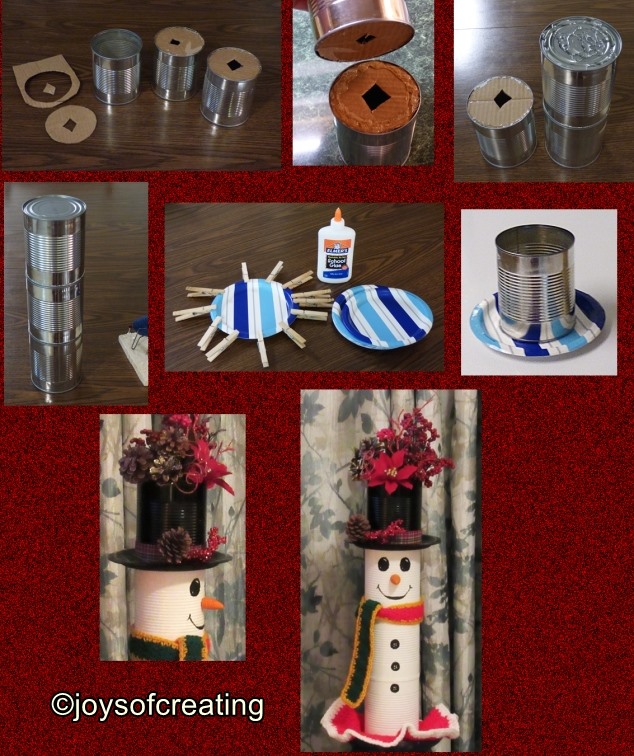
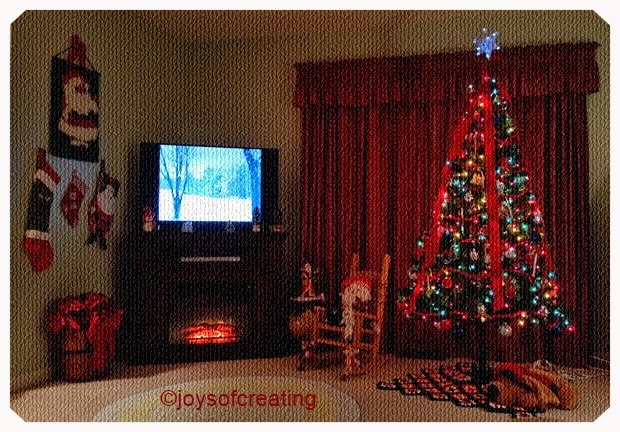
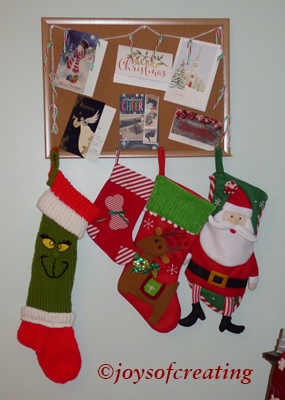
 I made a candy cane decoration out of empty paper towel tubes. It was harder than I thought it’d be to make the rounded crook of the cane. It took a few tries, but I figured it out and finally got one to came out fairly adequate.